Decluttering has a paradox: most organizing guides tell you to buy organizers to organize the stuff you can’t get rid of. That’s expensive ($200+ for one room) and rarely works. This guide is the opposite: declutter with ZERO money spent, using what you already own, free printables, and 8 ultra-cheap tools under $15 each.
The zero-spend principle: your home already has 80% of organizers needed. The other 20%? Cardboard boxes, jars, and dollar-store bins. Total budget for an entire house = under $50.
This guide complements frugal-home-organization (9 specific products under $10 each). That one shows what to BUY on a budget. This one shows what you already OWN and how to use it.
The Zero-Spend Principle
Before spending any money, apply the 3-question test:
- Do I already own something for this? (Jar, shoebox, tupperware, basket)
- Can I make it from what I have? (Cardboard, paper, fabric, twist-ties)
- Do I need it at all? (The real question — most “organizers” are solutions to clutter problems you can solve by decluttering first)
If you answer “no” to all 3 (rare), THEN consider buying. When buying, dollar store first, Amazon under $15 second, fancy container store last.
The most common mistake people make: buying organizers BEFORE decluttering. You buy 8 bins for a closet, fill 4 with “stuff,” and now you have 8 bins + the same amount of stuff.
The correct order: declutter first → see what organizers you actually need → buy only those.
What You Already Own (6 Hidden Organizer Types)
Most homes have a hidden stockpile of organizers in plain sight:
1. Glass Jars
Empty pasta sauce jars, jam jars, pickle jars — all free. Use them for:
- Pantry storage (beans, grains, nuts)
- Bathroom (cotton balls, q-tips, hair ties)
- Craft supplies (buttons, beads, push-pins)
- Kitchen utensils (matches, twist-ties)
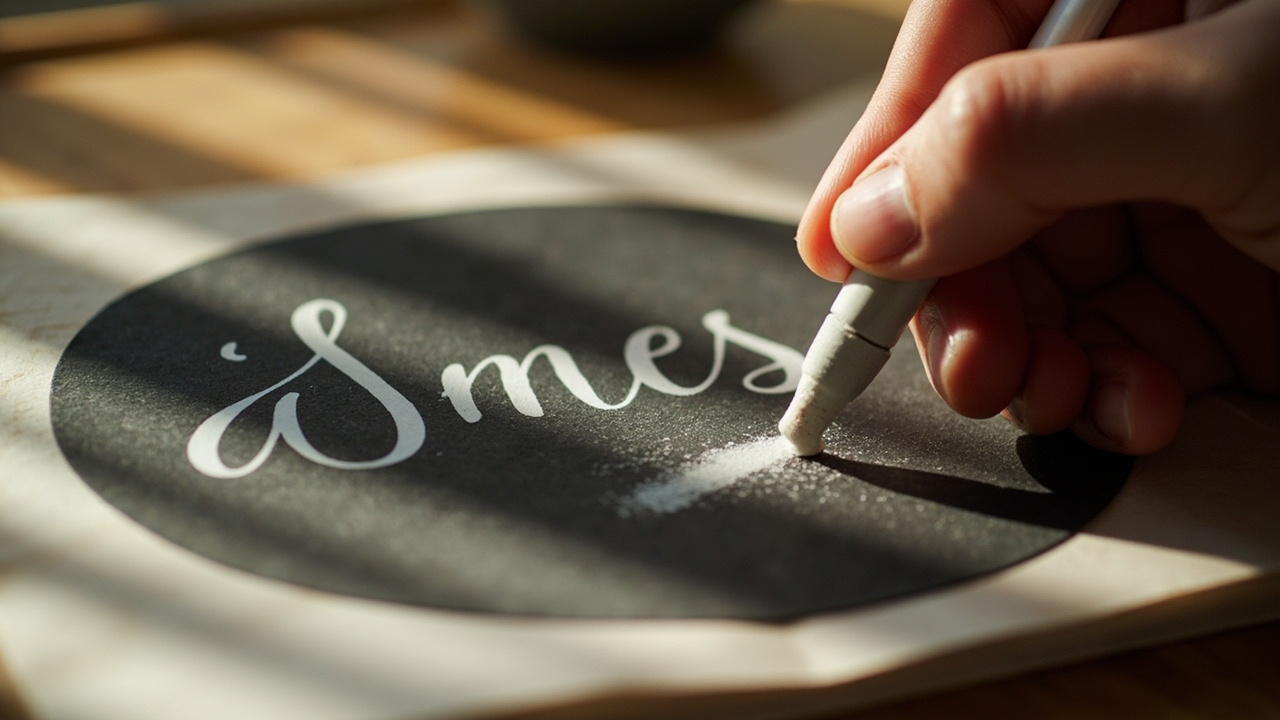
Tip: remove labels by soaking in hot water + dish soap for 10 minutes. Use a chalkboard label instead of buying new pre-printed labels.
2. Cardboard Boxes
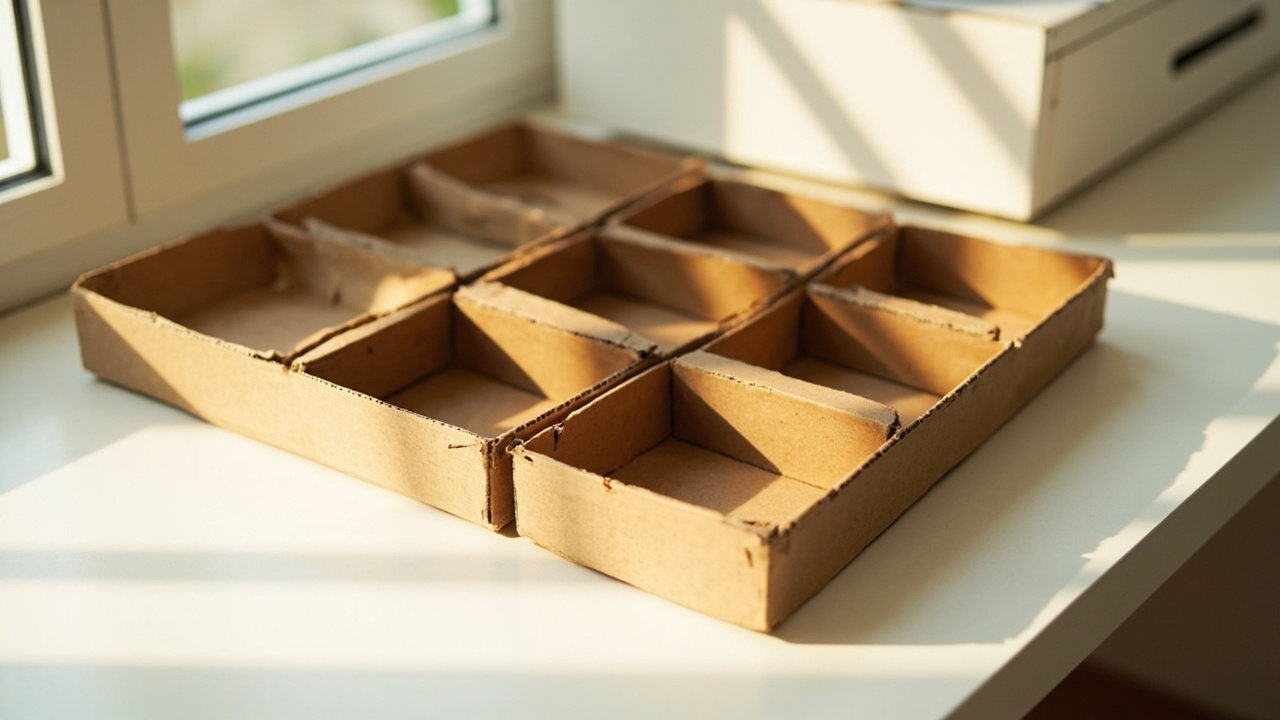
Shoeboxes, shipping boxes, cereal boxes, tissue boxes — all free. Cut them with a box cutter to make:
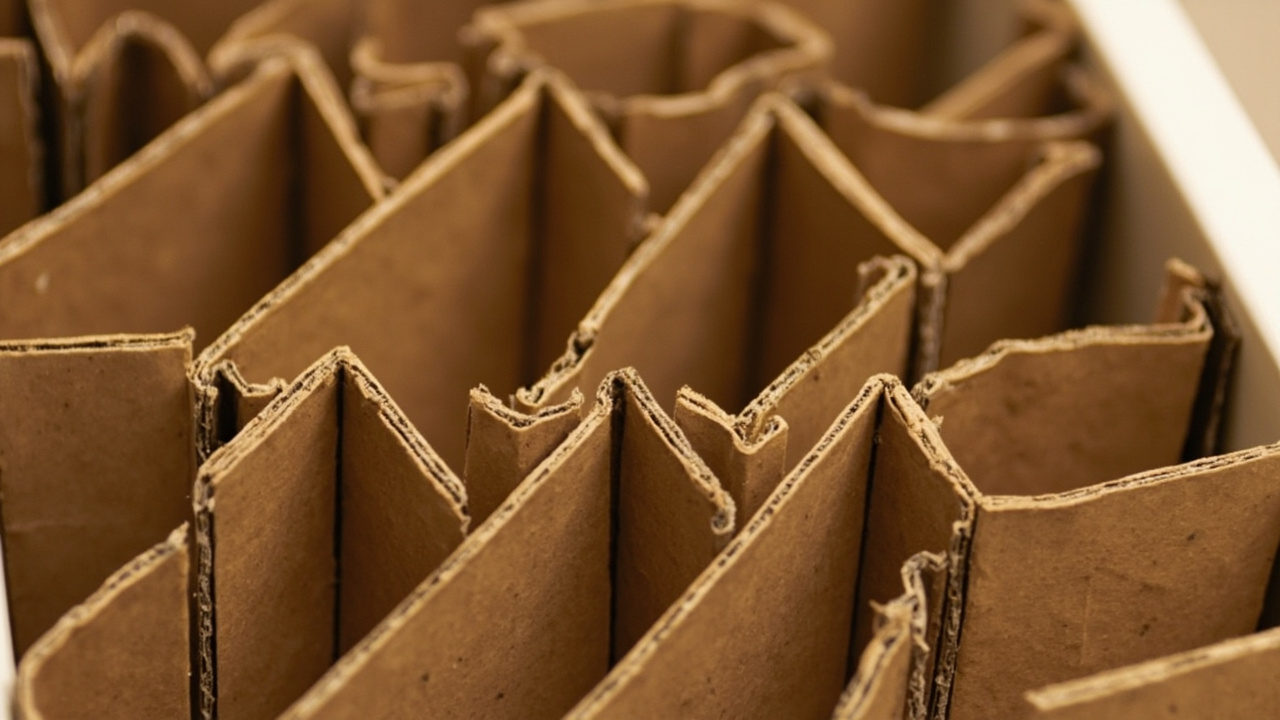
- Drawer dividers (cut long strips, fold into a grid)
- Shelf risers (cut L-shape)
- Magazine sorters (cut a slope)
- Gift wrap organizers (long + flat box)
For ready-made cardboard dividers: TOPPERFUN 4-Set Cardboard Dividers ($14.99) gives you 16 dividers.
3. Tupperware / Plastic Containers
Mismatched lids, forgotten bowls — all free. Use them for:
- Drawer organizers (group small items)
- Fridge leftovers (the original purpose)
- Catch-all trays on counters
- Jewelry storage
4. Baskets and Totes
Reusable shopping bags, beach bags, laundry baskets — all free. Use them for:
- Under-shelf storage (totes that fit between items)
- Nursery storage (toy baskets)
- Bathroom (toiletry totes)
- Linen storage
5. Towels and Linens
Old towels (past their prime as bath towels) make great:
- Shelf liners (folded under items to prevent sliding)
- Drawer liners (cut to size, free)
- Pet bedding (free)
- Cleaning rags (free)
For long-term drawer liners, Beautysaid Non-Adhesive Liner ($9.65, 10ft) lasts 2-3 years.
6. Books
Wait — books? Yes:
- Risers for short items (a hardcover book sideways makes a great riser)
- Doorstops (heavy paperbacks)
- Decorative anchors (stack as background)
- Donation pile (obviously — pass on to a friend or library)
DIY Cardboard Dividers (3 Patterns)
For drawers, the highest-impact DIY upgrade. Use free cardboard from any shipping box.
Pattern 1: Cross-Hatch Grid
For flat drawer items (underwear, socks, silverware):
- Cut 2 long strips (run front-to-back, full drawer depth)
- Cut 1 perpendicular strip (side-to-side)
- Slot the strips together to form a + or # shape
- Place in drawer — instant 4-6 sections
Pattern 2: Vertical Separators
For tall drawer items (pans, folders, baking sheets):
- Cut cardboard 1 inch shorter than drawer height
- Cut 4-6 vertical strips the same height
- Slot a small base at the bottom for stability
- Place verticals — instant 4-6 vertical sections
Pattern 3: Tiered Riser
For shallow items in deep drawers:
- Cut a piece 1 inch smaller than the drawer (length + width)
- Tape 1-inch tall risers on each side
- Place in drawer — creates a “shelf” for extra storage above
Time per divider: 5-10 minutes. Materials: scissors + a free box. Total cost: $0.
Dollar Store + Thrift Store Picks (Under $3 Each)
If you must buy, do it strategically. Dollar store buys more value than Amazon for ultra-cheap organizers:
| Item | Dollar Store Cost | Amazon Cost | Best For |
|---|---|---|---|
| Plastic bins (small) | $1-2 each | $10-15 each | Closet organization |
| Woven baskets | $2-3 each | $15-25 each | Living room storage |
| Tension rods | $3 each | $8-12 each | Under-sink dividers |
| Hooks (over-the-door) | $2 each | $8-15 each | Bathroom / closet |
| Plastic drawer sets | $5 for 3 | $20-30 for 3 | Office organization |
Total cost for an entire house of dollar-store organizers = $30-50. Same Amazon cost = $200-400.
For dollar-store canvas baskets under $3, Tamicy Mini Storage Basket 5-Pack ($9.98 = $2 each) ships free with Prime.
Free Printable Labels (3 Sources)
Labels turn “I should put this back” into “this goes HERE.” Three free sources:
1. Pinterest
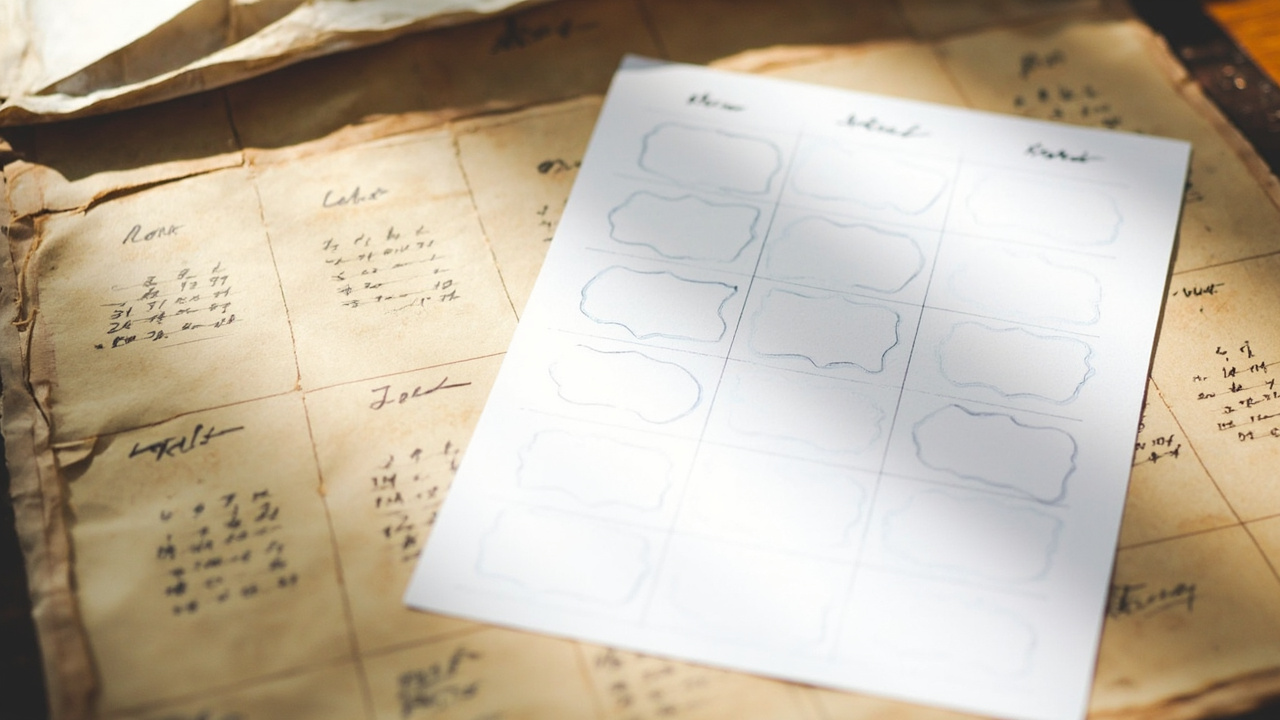
Search “free printable pantry labels” — 1,000+ free templates. Print on regular paper, laminate with packing tape.
2. Canva (Free Tier)
Create custom labels in any size:
- Go to canva.com → Create a design → Custom (1920x1080)
- Add text in your font of choice
- Print on Avery label sheets ($7 at Walmart)
3. Microsoft Word
Built-in label templates:
- Mailings → Labels → Options → Avery Standard
- Pick a template (5160 = 30 labels/sheet)
- Type your labels, print
Tip: Even free printable labels work better than no labels. The decision is made when you stick the label on. Nothing fancy required.
For longer-term tracking, a 2-pack undated notepad ($8.99) gives you 6+ months of daily use — enough to track every decluttering session + your maintenance streak.
No-Spend Swaps (5 Substitutions)
Replace expensive items with free or already-owned alternatives:
- Mesh drawer organizers → use cardboard dividers (Pattern 1 above)
- Lazy Susans → use a plate + bowl (under-sink)
- Acrylic shoe boxes → use original shoe boxes (free)
- Velvet hangers → keep your plastic hangers + give away the velvet ones
- Label maker → use a marker + free printable template (or chalkboard labels that you wipe)
For long-term reuse, ONUPGO Chalkboard Labels ($8.49 for 180) last 5+ years vs. free printables that tear.
Time Management on $0 Budget
The most underrated zero-spend tool: a timer.
Without a timer, you spend 20 minutes per item asking “do I want to keep this?” With a timer, you spend 5 minutes max per item. Multiply by 50 items = 12 hours saved.
For decluttering, use a digital countdown timer ($5.93 for 2) — magnetic back sticks to fridge. Set 5 min per item.
Renter-Friendly Mounting (No Drilling)
If you rent, skip drilling entirely. Use Command Large Caddy ($12.99) — sticks to any smooth surface, removes without damage when lease ends.
For clothing labels in shared spaces (kids, roommates), Avery No-Iron Fabric Labels ($12.38) survive the wash and mark ownership.
Common Mistakes
5 mistakes to avoid:
-
Buying organizers BEFORE decluttering. Always declutter first, then buy. The mistake: you buy 8 bins for a closet, fill 4 with stuff, then end up with 8 bins + the same amount of clutter.
-
Using fancy expensive solutions when DIY works. A $25 acrylic organizer + $50 labels + $40 bins = $115 to organize a drawer. Free cardboard + free printables + a shoebox = $0 to do the same job.
-
Throwing away reusable containers. Glass jars, shoeboxes, shipping boxes — all free organizers. Toss them, and you’re buying organizers later.
-
Not checking what you already own. Most homes have 80% of organizers needed. The remaining 20% is jars, boxes, bags, baskets already owned.
-
Going to the store before exhausting home options. Hit the dollar store first when buying is unavoidable. Skip the Container Store entirely.
Constraint Guide: If-Then Decisions
4 if-then rules for budget scenarios:
- IF you have no budget at all → use cardboard + jar + shoebox method (free)
- IF you have $10-20 → add dollar-store bins or canvas baskets
- IF you have $20-50 → add reusable chalkboard labels for long-term organization
- IF you’re a renter → use Command strips (damage-free) instead of drilling
For more budget solutions at $10 each, see frugal-home-organization — 9 specific products under $10.
FAQ
How do you declutter when you’re broke?
The zero-spend method: declutter with what you already own. Jars + cardboard + shoeboxes + free printables = $0 spent on organizers. Total budget for an entire house of dollar-store organizers = $30-50.
What’s the cheapest way to organize a home?
Three tiers in order: (1) Free — use existing items (jars, shoeboxes, baskets), (2) Dollar store — under $3 per item, (3) Amazon under $10 — only if dollar store didn’t have it. Most homes need only tier 1 + 2 = $30-50.
How to declutter without spending money?
Empty one drawer/zone. Sort into 3 piles (Keep/Donate/Trash). Use existing containers (jars, shoeboxes) for the Keep pile. Use free printable labels. Total cost: $0. Set a timer to limit decision time.
Related Decluttering & Budget Guides
For more budget-friendly approaches:
- Frugal Home Organization — 9 specific products under $10 each
- KonMari Method — philosophy that starts with “what you already own”
- Declutter Fast — 4-quadrant method (process, not products)
- Small Space Decluttering — small space DIY strategies
For room-specific DIY organization:
- Cardboard Drawer Dividers — full DIY guide
- Storage Bins Guide — bin selection
- Bathroom Hub — bathroom organization
- Kitchen Under Sink — DIY under-sink
For the full Learn library: /learn/ — 9 articles across all subTypes.