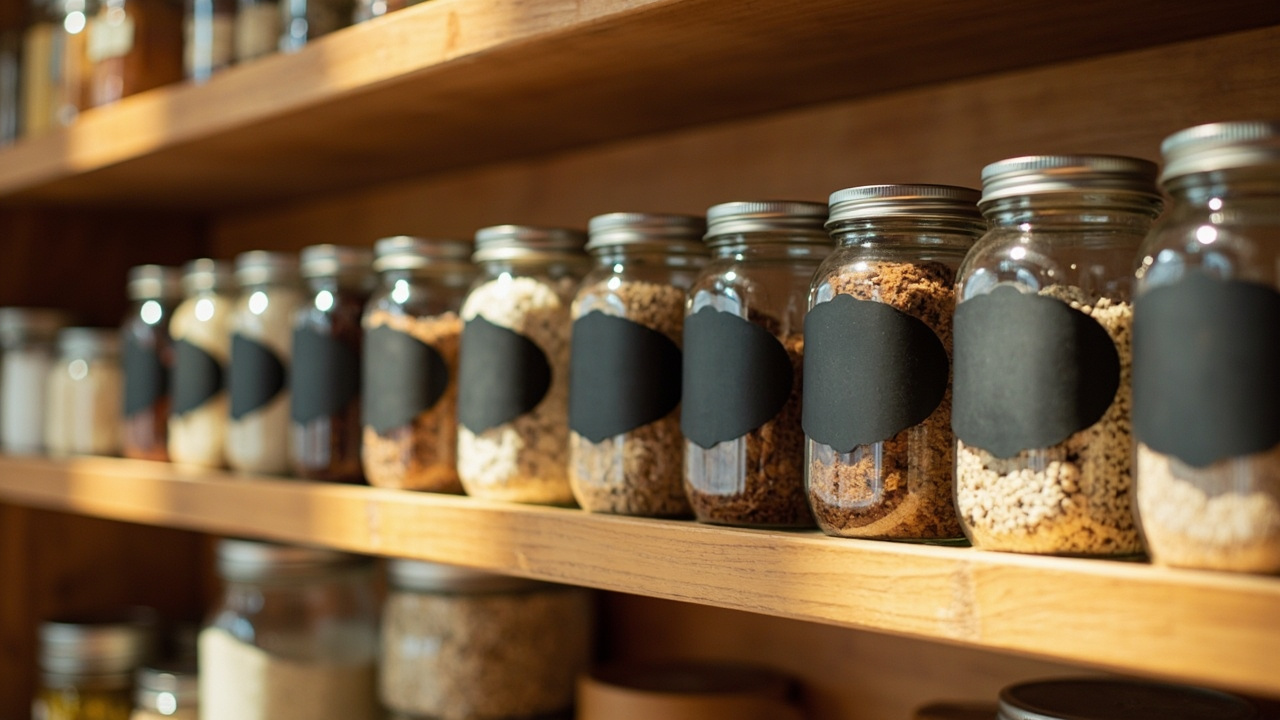
How to Label Anything: The 5-Factor Labeling System
Most organizing systems fail within three months not because the bins are wrong, but because no one knows what’s inside them. The right label system turns a confusing closet into a find-anything-in-5-seconds space — and the wrong one wastes weekends re-finding the same items you already own.
I’ve been labeling things in my home for years, and what started as scribbled tape on cereal containers has evolved into a 5-Factor system I use for every room. It’s the same framework used by professional organizers, adapted for DIY home use. This guide walks you through the 5 factors and 5 steps that turn “label everything” into a system that actually lasts.
The 5-Factor Labeling System
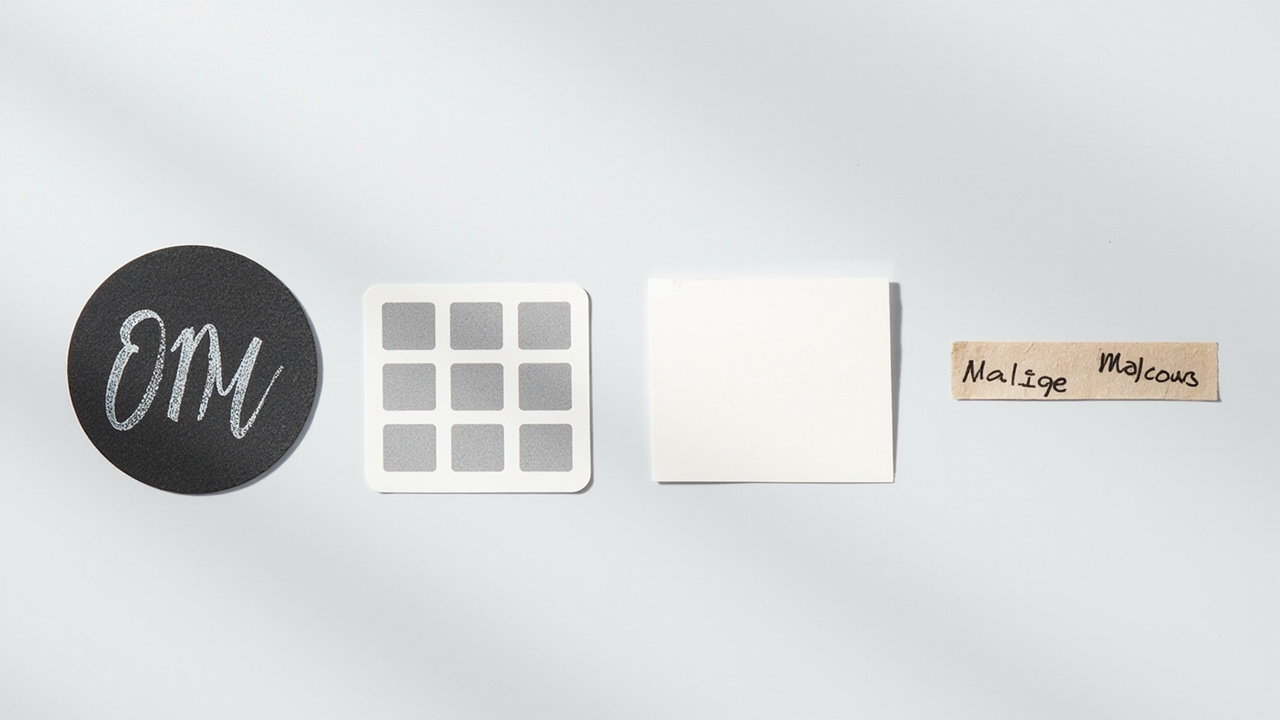
Every label decision comes down to 5 factors. Skip any one and the system breaks within months.
- Label Type — chalkboard, pre-printed, label maker, handwritten, or fabric
- Material — paper, vinyl, plastic, acrylic, or chalkboard film
- Adhesive — permanent, removable, magnetic, clip-on, or none
- Reusability — write-once (single use) vs write-erase (reusable)
- Format & Sizing — large/medium/small + font readability + placement
I’ll walk through the 5-step method in the next sections. The steps build on each other: start by decluttering, then sort, then choose a label type, then place the label, then format it for long-term readability.
Step 1: Declutter Before Labeling
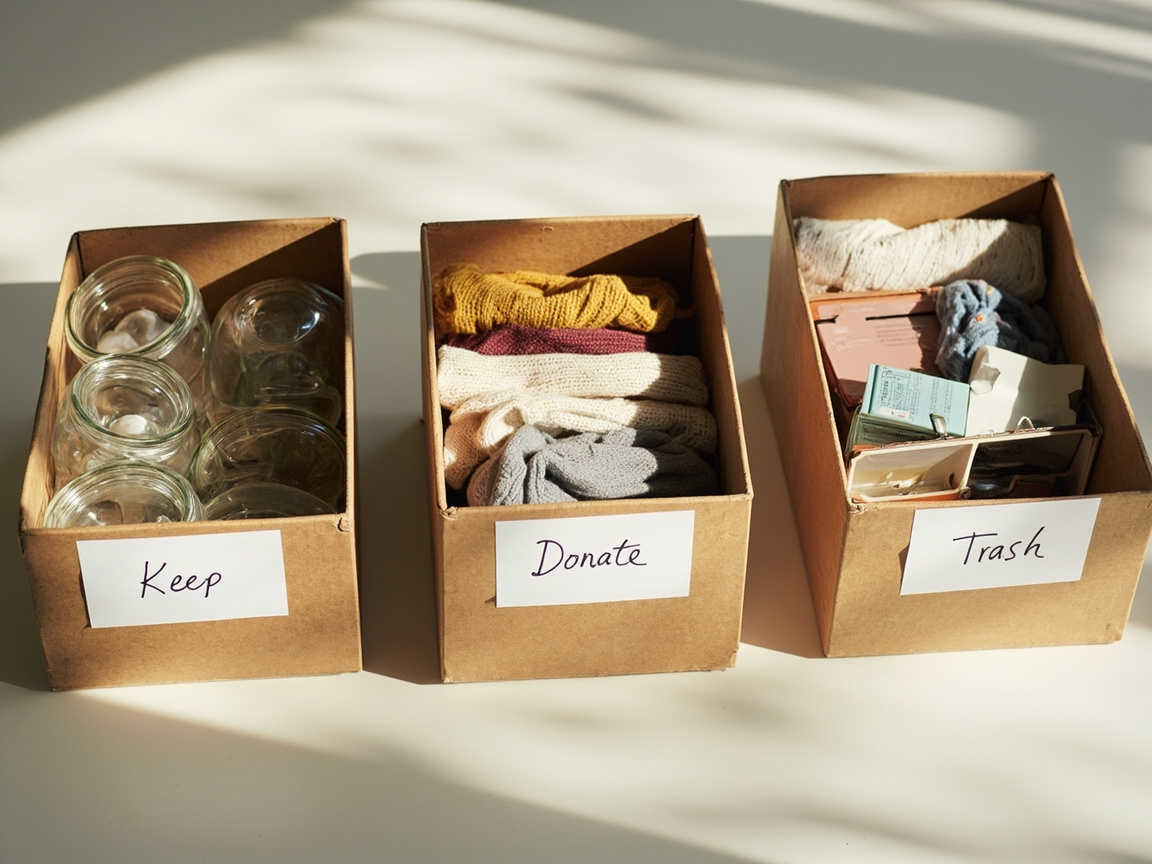
Before labeling anything, declutter the items you’ll be labeling. Labeling junk creates labeled junk.
The fastest path: empty one zone at a time (one shelf, one drawer, one cabinet). Sort into 3 piles: keep, donate, trash. Only label what’s in the keep pile. This step typically cuts your labeling work in half.
For a complete decluttering framework before you start labeling, see our KonMari method guide — the category-fold approach handles whole-closet or whole-pantry purges before you label anything. For a 30-minute fast-track when you don’t have time for full KonMari, our declutter fast guide covers the basics in under an hour.
The two-bin rule helps: anything you haven’t used in 12 months goes in the donate pile. Don’t label it. Don’t keep it. Don’t label future clutter either.
Step 2: Choose Your Label Type
Four label types cover roughly 95% of home labeling needs. Pick one or combine two.
Chalkboard Labels
Reusable black stickers you write on with liquid chalk markers. The ONUPGO 180-piece chalkboard set is the most popular Amazon option at $10 — includes chalk marker and 180 stickers covering jars, bins, and containers.
Best for: rotating pantry items (spice refills, snack bags), freezer containers, anything you change contents of frequently. Drawbacks: needs chalk markers (regular chalk smears), not as aesthetic as printed labels.
Pre-Printed Pantry Labels
Pre-printed minimalist labels for common pantry items (salt, sugar, flour, oats, etc.). The Kuocodall 288-piece set covers 288 pantry staples in black minimalist font at $13.
Best for: pantry containers, spice jars, anything you want to look professionally styled without handwriting. Drawbacks: not reusable — once you change the contents, you need a new label.
Label Maker (Brother P-Touch / DYMO)
Handheld device that prints custom labels on tape via Bluetooth. The Brother P-Touch PT-N10 at $40 prints ½ inch labels via your phone — best for whole-house systematic labeling.
Best for: 50+ items needing consistent, professional labels. Office-quality output. Drawbacks: one-time equipment cost, tape refills add up over years.
Handwritten Labels (Pen + Tape)
Write directly on painter’s tape, masking tape, or paper with a permanent marker. Best for: low-budget, low-volume, occasional labels (under 10 items). Drawbacks: handwriting inconsistency on 30+ label projects, labels smear in humid areas.
Step 3: Match Material to Room
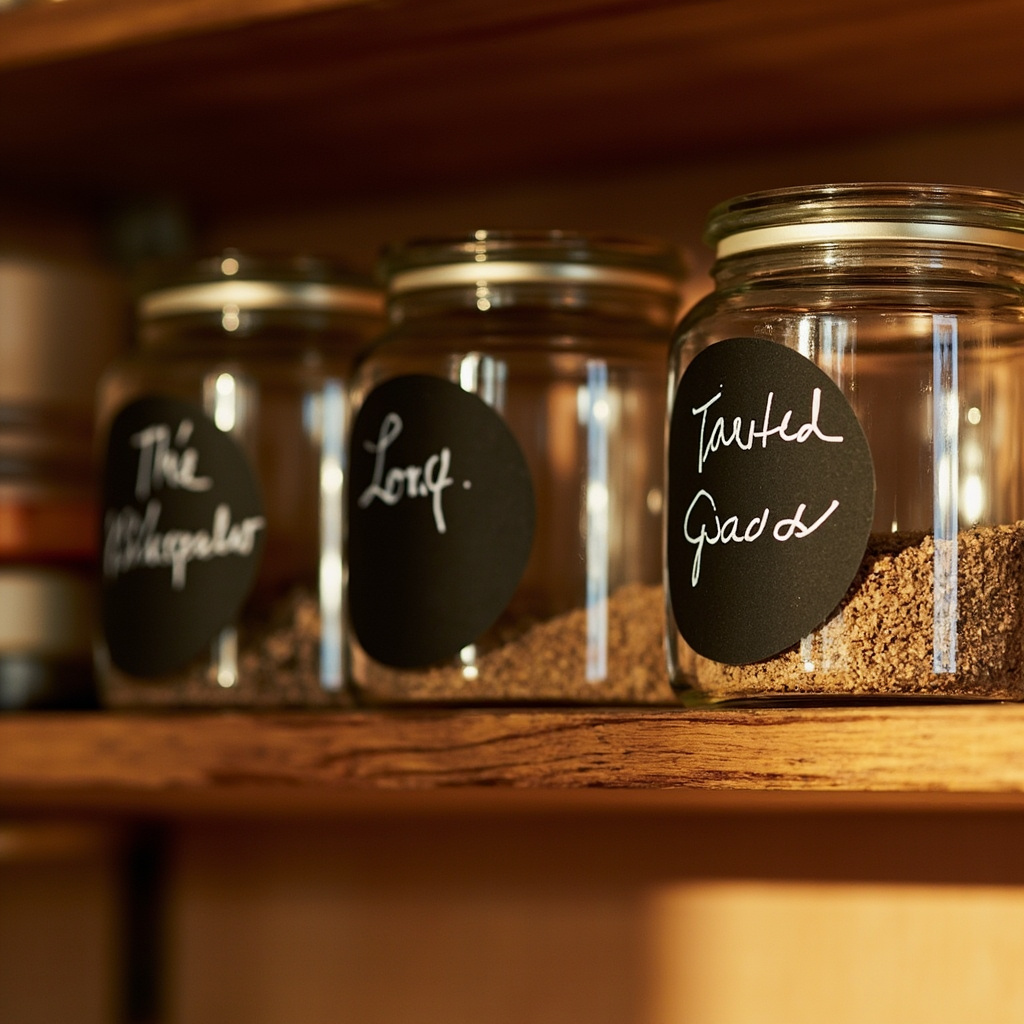
Material choice depends on moisture, temperature, and visibility.
Kitchen and Pantry — Waterproof Vinyl or Chalkboard
Moisture plus food spills require waterproof labels. Vinyl or chalkboard film handle dishwashing, freezer, and pantry humidity. Vinyl is permanent; chalkboard film is reusable. The ONUPGO chalkboard set covers both kitchen room-temp zones and freezer-resilient surfaces.
Bathroom — Vinyl or Plastic Only
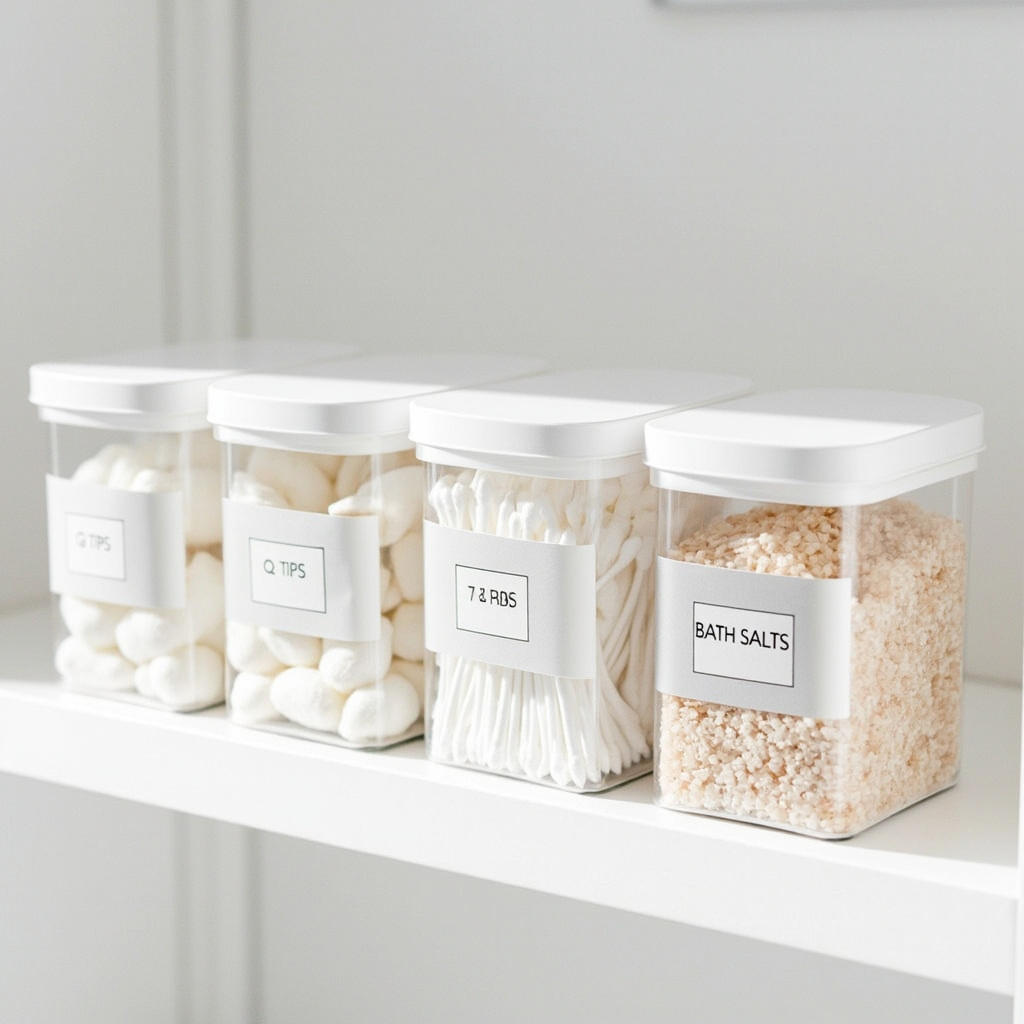
Bathroom humidity destroys paper labels within weeks. Vinyl or plastic labels survive steam, splashes, and humidity cycling. The Homrelaxy removable vinyl set at $12 covers 180 large labels that handle bathroom humidity while staying removable.
Closet and Bedroom — Removable Vinyl or Magnetic
Closet labels often change seasonally (swap summer/winter clothes). Removable vinyl allows repositioning without residue. Magnetic labels work on metal closet systems but cost more per label.
Garage and Workshop — Industrial Vinyl or Paint Marker
Garage labels need to survive temperature swings, oil, and grease. Industrial vinyl plus paint marker is the most durable option. Paper labels dissolve within weeks.
Step 4: Pick the Right Adhesive
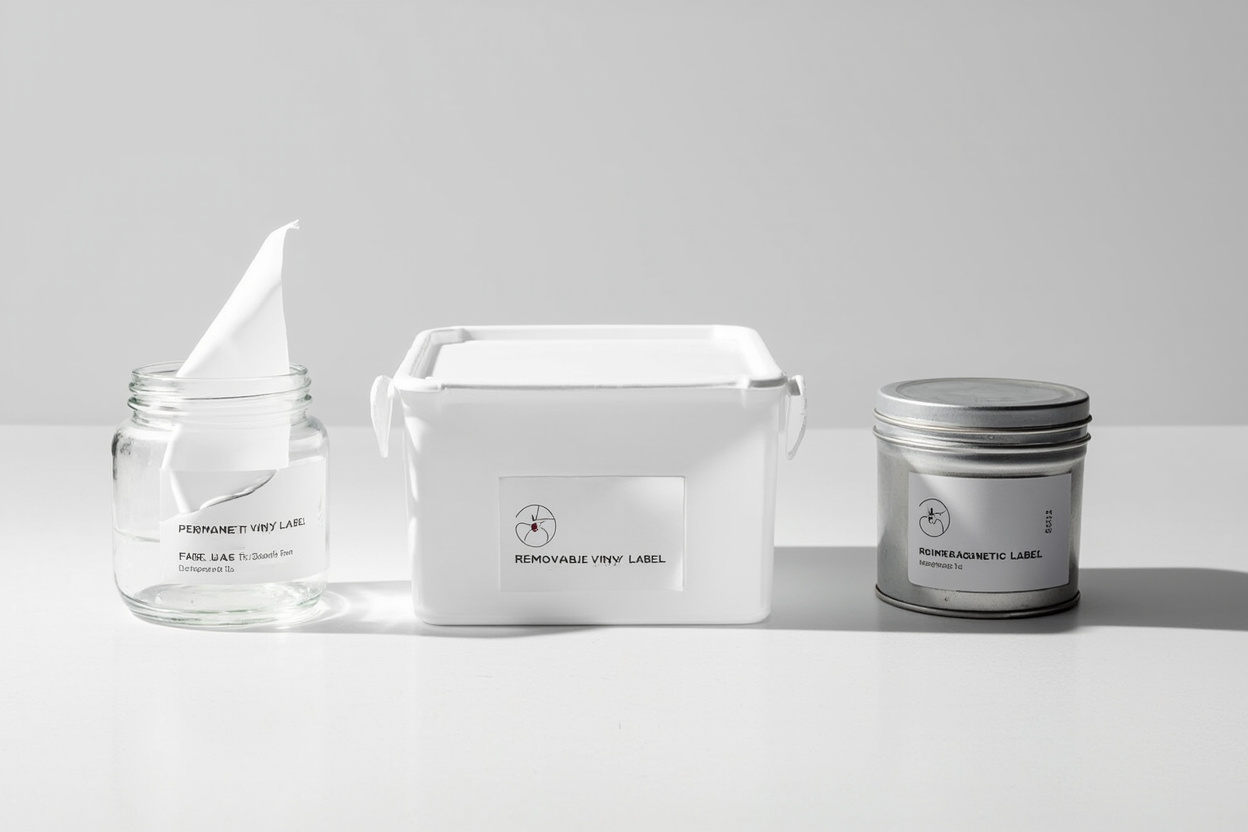
The adhesive choice is where most people get burned — choosing permanent when they meant removable, or vice versa. Three options cover almost every home scenario.
Permanent Adhesive
For items that never move (pantry containers, garage bins, seasonal decor stored in attic). Vinyl permanent adhesive is the strongest bond. Hard to remove without solvent or scraping.
Removable Adhesive
For renters or rotating seasonal items. Removable vinyl (the Homrelaxy 180-piece set at $12) peels cleanly for 6 to 12 months, then may need adhesive remover for older labels.
Magnetic or Clip-On
For metal surfaces (filing cabinets, metal shelving, fridge sides) or seasonal items that move often. Zero adhesive residue. Magnetic labels cost more per label but last years and never damage surfaces.
Step 5: Format, Sizing & Consistency
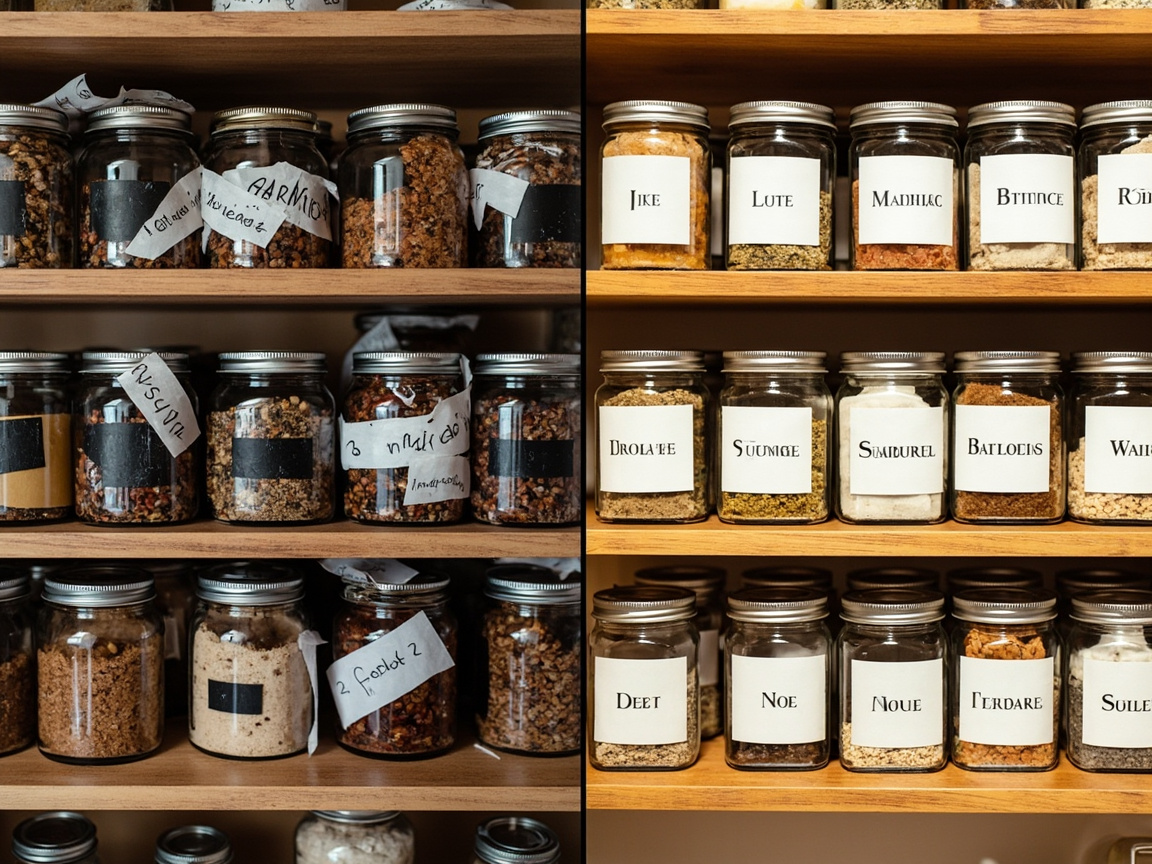
The last factor is consistency — and it’s where labeling systems quietly fall apart. Three rules:
Match Format Across Zones
Within one zone (kitchen pantry, bathroom vanity, bedroom closet), use the same label format. Mixing four different label types in one pantry reads as clutter even when functional. Pick one label type per zone and stick with it.
Size Labels to Readability Distance
A label 6 feet away (high pantry shelf) needs 1-inch tall text minimum. A label 1 foot away (spice jar) needs 0.25-inch tall text. Test readability from the actual viewing distance before committing — print a sample, tape it up, walk away to the spot where you’ll actually read it.
Place Labels Where They’re Seen
Front-facing labels for items you grab from the front. Top-facing labels for items in deep shelves. Avoid putting labels only on the back of containers — you’ll never see them. This is the single most common labeling failure I see in home organizing photos.
Room-by-Room Label Recommendations
Kitchen and Pantry
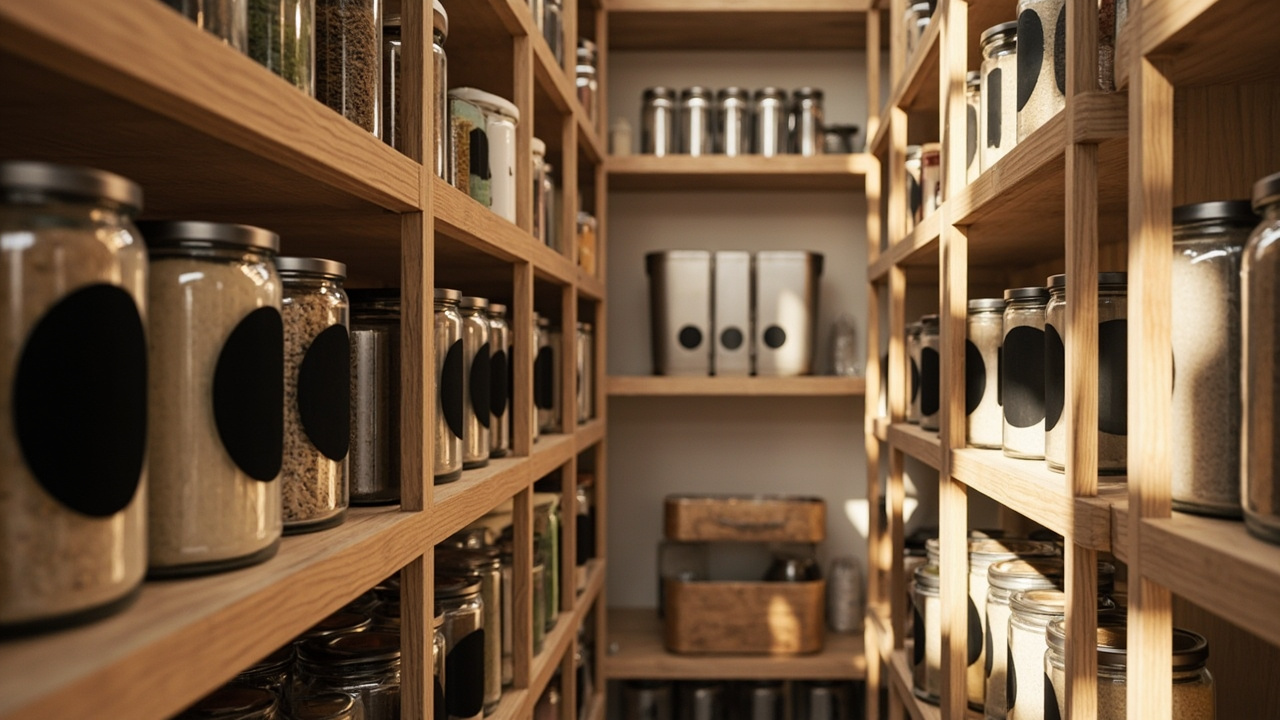
Pre-printed chalkboard labels for dry goods. Removable vinyl for fridge/freezer containers. Label maker for spice jars (the Brother P-Touch handles 50+ spice names efficiently and stays consistent across jars).
For the broader pantry setup — bins, risers, shelf organizers — see our kitchen pantry guide and small kitchen organization guide. For spice-specific label format, our spice organization guide covers jar + label combinations.
Bathroom
Removable vinyl for shared bathrooms (roommate labels change). Magnetic for metal organizers. For bathroom shelf labeling context, see our shelf organizer buying guide.
Closet and Bedroom
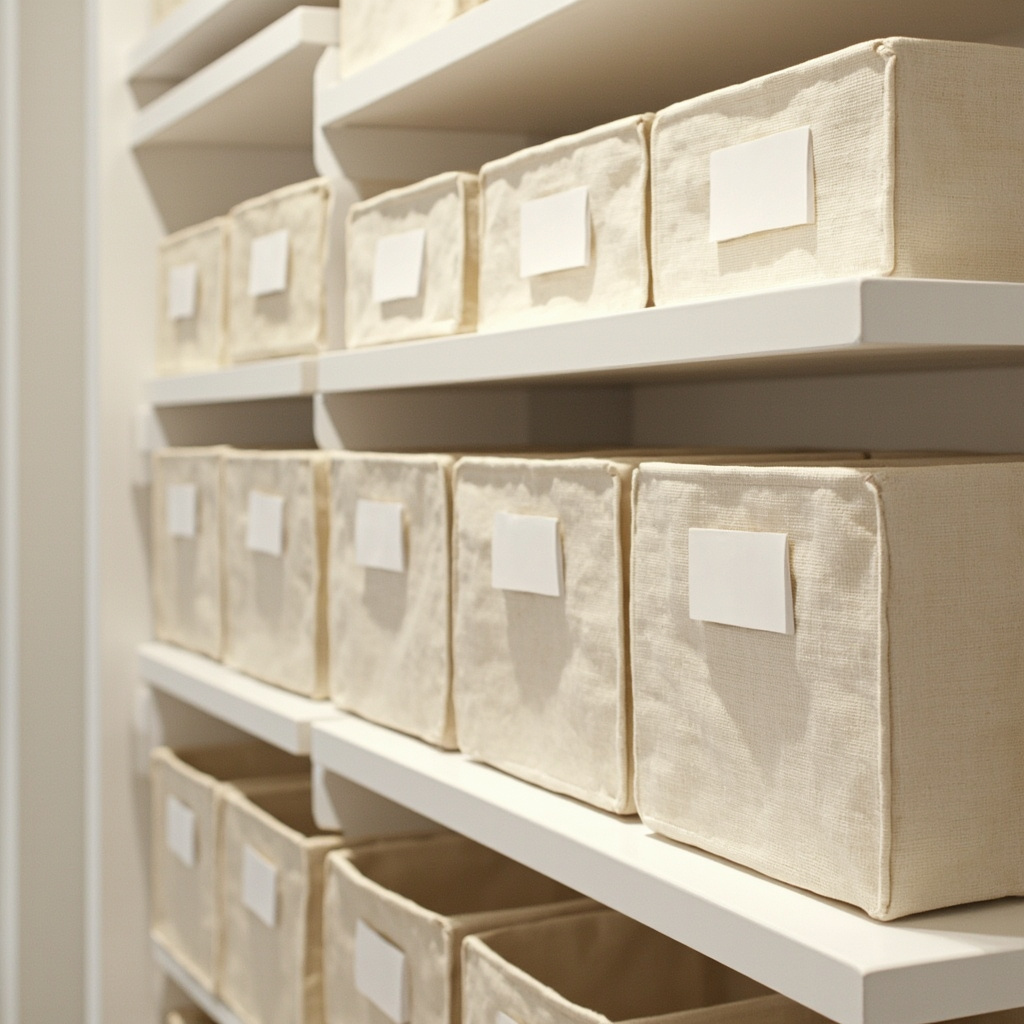
Removable vinyl or magnetic for seasonal rotation. Label maker for “donate” boxes. For closet cube storage labeling, see our wire cube vs wood closet system comparison.
Office and Desk
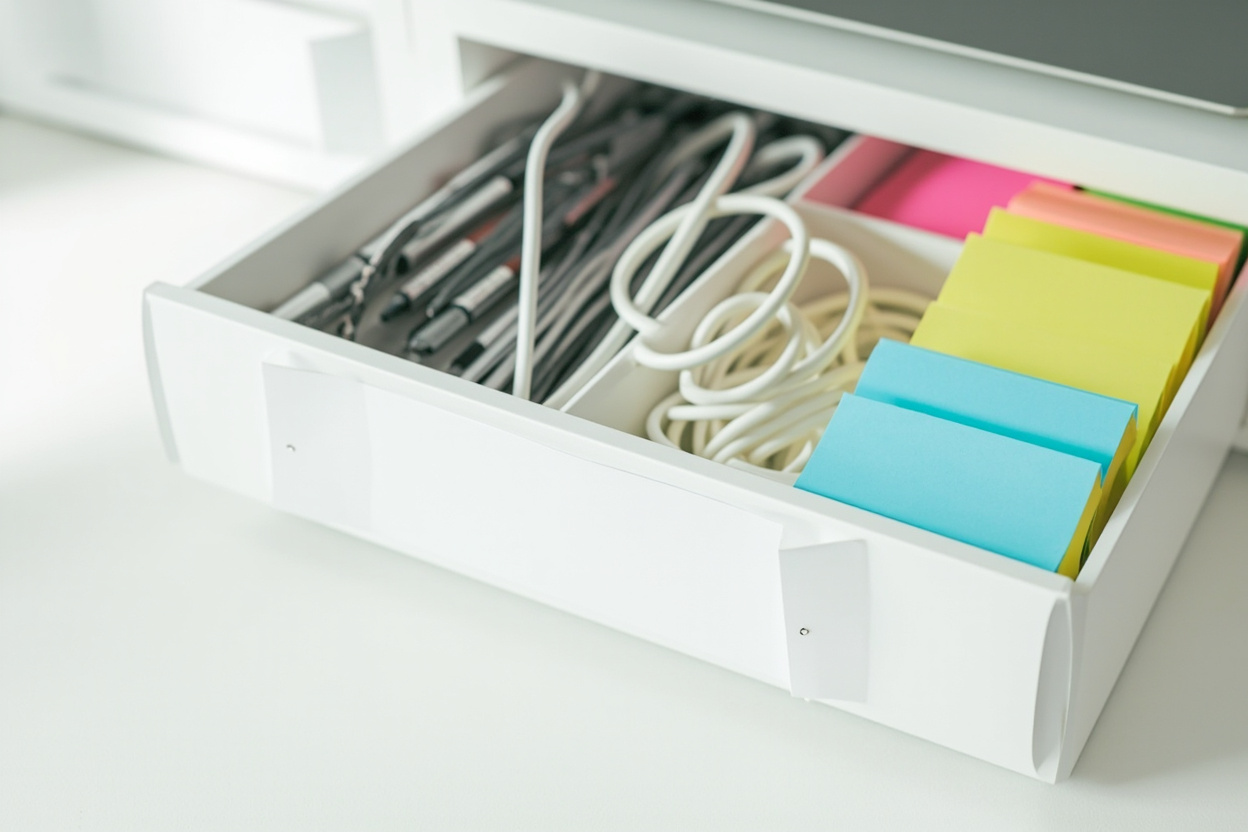
Label maker for files, cables, supplies. The Brother P-Touch PT-N10 prints consistent labels for everything from cables to file folders. Pre-printed for common office supplies (Pens, Pencils, Sticky Notes).
For desk drawer + desk labeling context, see our drawer organizer buying guide.
Garage and Storage
Industrial vinyl or paint marker for bins. Magnetic for metal shelving. For garage organization with pegboard hooks + labeled bins, see our hooks and racks buying guide and storage bin buying guide.
Common Mistakes to Avoid
Five mistakes show up consistently across Amazon 1-star reviews, the OrderlySpace labeling guide, and Reddit organizing threads:
- Using the same label type for every room — OrderlySpace’s labeling guide explicitly calls out matching label material to room environment. Chalkboard labels in the freezer peel off within weeks. Paper labels in the bathroom dissolve from humidity.
- Choosing aesthetic over function — unreadable fonts — decorative script fonts on pantry jars look great in photos but fail at 3 feet away. OrderlySpace’s visibility principle: “you know what is inside without even looking.” If you can’t read it from the actual viewing distance, the system fails.
- Skipping label maker for 50+ items — Reddit r/organization threads + Family Handyman editorial confirm handwriting fatigue on 30+ label projects. For pantry or whole-house labeling, invest in a label maker.
- Permanent adhesive on rental walls and surfaces — Reddit r/Homeorganization + Amazon 1-star reviews cite adhesive residue as the #1 renter complaint. Lose your security deposit ($200 to $500 for repainting one room) and the system fails.
- Ignoring moisture and temperature — Amazon 1-star reviews on non-waterproof labels consistently cite “fell off in bathroom” and “didn’t survive freezer.” Vinyl, chalkboard, or freezer-specific materials exist for these environments — use them.
Recommended Tools
Five products spanning the 5-Factor Labeling System. Each represents one label type, material, or adhesive combination.
For reusable chalkboard labels on jars and bins, the ONUPGO 180-piece set at $10 includes 180 reusable stickers, liquid chalk marker, and silicone pads. Best for rotating pantry items and freezer containers.
For pre-printed minimalist labels with no handwriting needed, the Kuocodall 288-piece set at $13 covers 288 common pantry staples. Best for styled pantries and professional-looking gift containers.
For removable vinyl on storage bins (renter-friendly), the Homrelaxy 180-piece 4”x6” labels at $12 are large-format and peel cleanly. Best for closet, garage, and seasonal rotation.
For whole-house systematic labeling (50+ items), the Brother P-Touch PT-N10 at $40 is Bluetooth, handheld, and prints ½ inch labels from your phone. Best for office, drawer, and full-pantry projects.
For clothing, daycare, and fabric items, the Avery No-Iron Fabric Labels at $8 are washer/dryer safe and survive 50+ wash cycles. Best for kids’ stuff, school uniforms, and shared household fabrics.
Closing Notes
The 5-Factor Labeling System turns labeling from “stick a label on it” into a real system that lasts. Skip decluttering first and you’ll label junk. Skip the right adhesive and you’ll damage walls. Skip consistency and the labels will read as clutter even when functional.
For the broader organization systems that labels complete, see our storage bin buying guide (the #1 label partner), drawer organizer buying guide (for drawer labeling), and shelf organizer buying guide (for shelf-edge labels). For the closet + hook + cube infrastructure that holds labeled bins, see our hooks and racks buying guide and wire cube vs wood closet system comparison.
For the organization philosophy behind declutter-first labeling, our KonMari method guide covers the deep decluttering framework, and our declutter fast guide covers the 30-minute fast-track when you just need to get started.