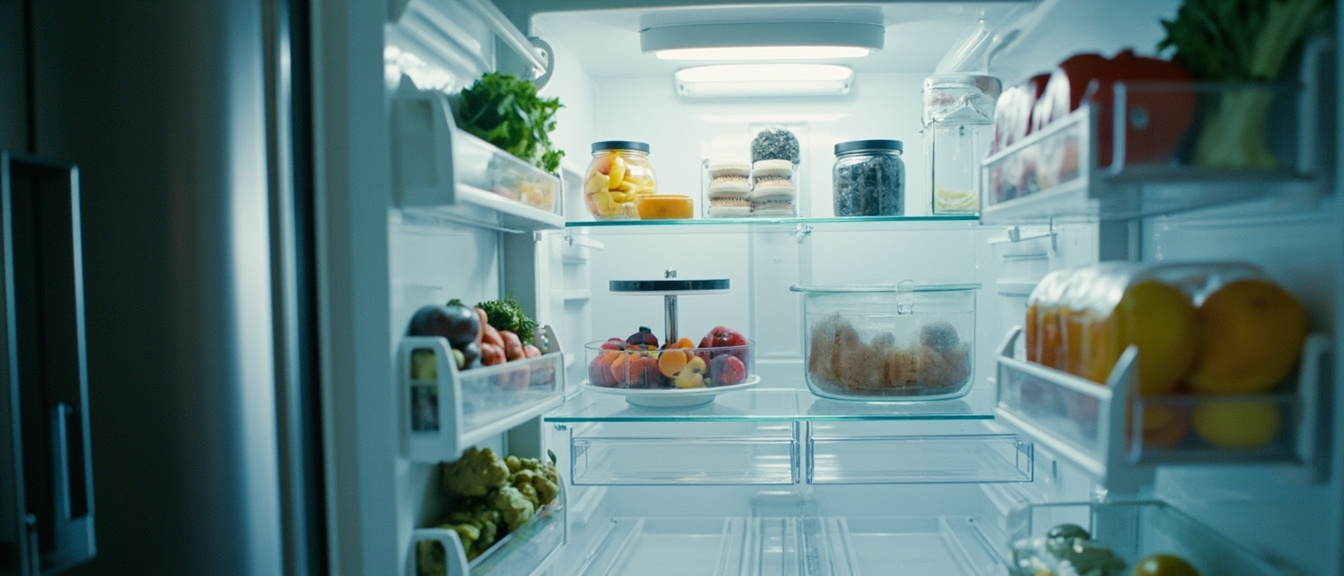
Most messy refrigerators aren’t full — they’re unassigned. Three decisions fix nearly all of it: what goes on the door, what goes in a bin, and what leaves the house.
| Zone | Lives on | Holds | Never holds |
|---|---|---|---|
| Bulk | Middle shelf, back row | Grains, canned goods, unopened packages | What you’ll open this week |
| Daily | Shelf above the crisper | Milk, leftovers, breakfast | Bottles that must stand up |
| Bottles | Door shelf, stepped rack | Water, juice, tall drinks | Anything wider than the shelf |
| Door-safe | Door bins, top shelf | Condiments, drinks, opened jars | Milk, eggs, cut fruit |
Why Refrigerators Go Wrong First
Three failures cause nearly every messy fridge, and none is having too much food.
Cold air sinks, and the door is the warm end
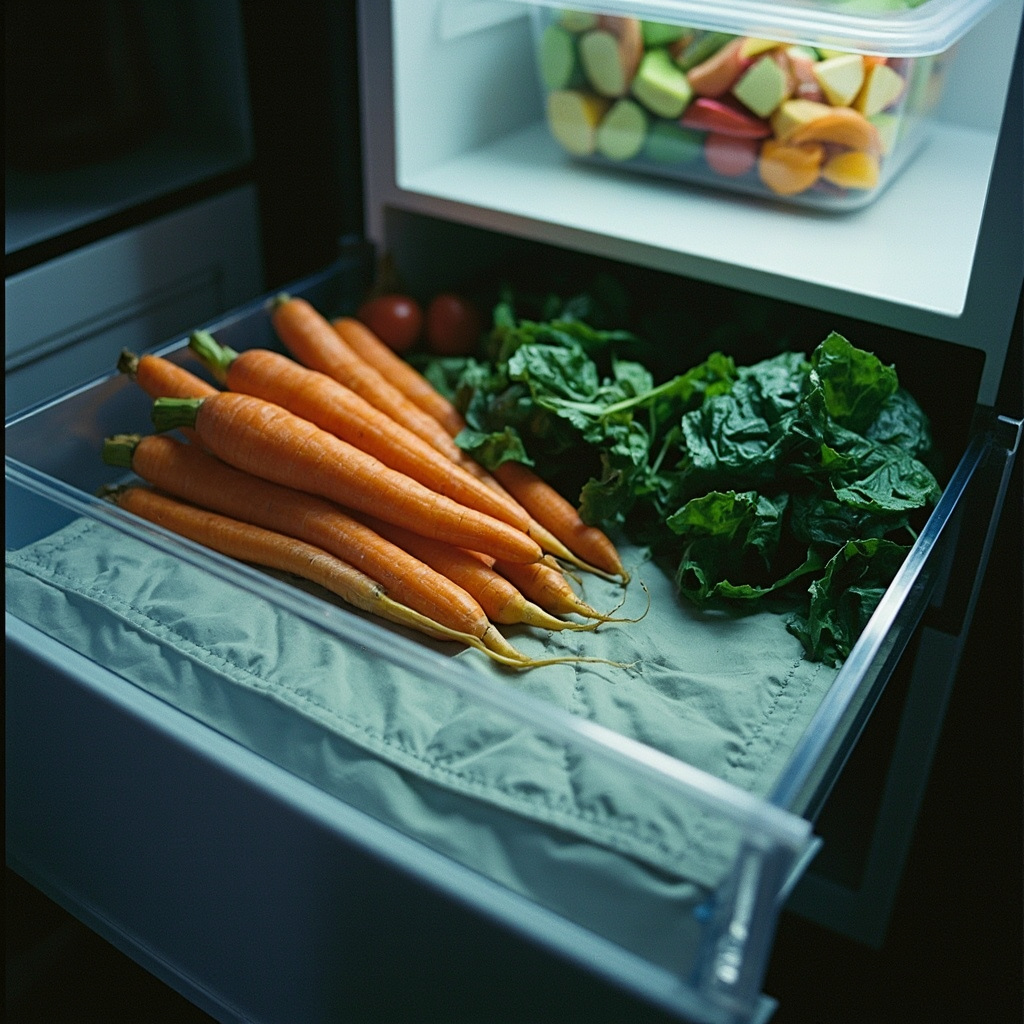
Dense cold air settles low, so the bottom runs colder than the top and the door runs warmer than both. Greens in a door bin go limp while the same greens on the lowest shelf hold up. That’s why a non-slip liner belongs in that drawer and the bottle organizer on the door — top to bottom, a fridge isn’t one surface.
What you can’t see, you buy again
A jar behind the milk is invisible, and nobody opens a second jar of mustard because they can see the first one. No container fixes this — assignment does. An 8-pack clear bin helps, because you can read it without pulling it out, but the real fix is a shelf with a stated job.
The bin was bought before the shelf was measured
Shoppers measure shelf width and buy on width. Fridge shelves are deep and narrow, so what sinks a purchase is depth, or a bin too tall for the gap above. Cut a cardboard template first: a twelve-inch turntable and an eight-pack bin are both shelf-specific.
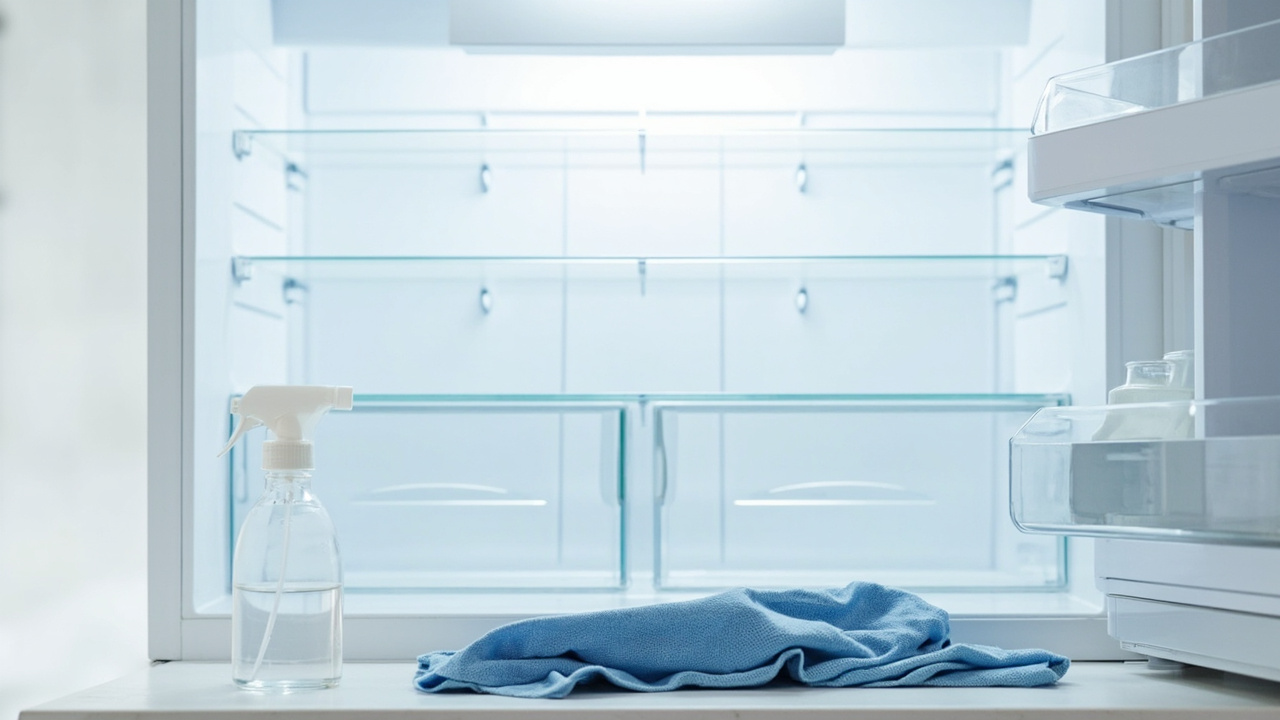
The reset itself is standard; the full write-up is in the zone cleaning method. This page covers only cold-storage geometry.
What You’ll Need
Measure depth and gap height, not width. Cut a template to one shelf’s inner footprint before ordering.
| Pick | Job | Price |
|---|---|---|
| Utopia Home Plastic Stackable Storage Bins for Fridge, 8 Pack, Clear | Contain, main shelf | $24.99 |
| Copco 2-Tier Nonskid Lazy Susan Turntable Organizer 12-Inch | Rotate, middle shelf | $11.98 |
| 10 Pack Refrigerator Pantry Organizer Bins with Lids | Portion, single-serve | $26.97 |
| Deco Brothers Stackable Can Rack Organizer Holds Up to 36 Cans | Vertical, door cans | $25.97 |
| iDesign Water Bottle Organizer | Vertical, door bottles | $12.99 |
| Egg Holder for Fridge, Automatic Rolling Egg Container, Clear, 2Pack | Dispense, eggs | $24.99 |
| Non Slip Refrigerator Liners, 2-in-1 Fridge Mats and Fresh-Keeping Shelf Liners | Contain leaks, drawer | $14.99 |
| Rubbermaid Brilliance Tritan Plastic Food Storage Containers | Rotate leftovers | $23.73 |
Clear sides beat opaque ones here, because a bin you can’t see into is one you stop checking. See clear versus opaque bins for the trade-off, how to choose storage bins without overbuying for sizing, and spice and condiment storage for the door.
The Six-Step Method
Order matters more than the products: empty, measure, zone, then buy.
Step one: Empty It Completely, Including the Door
Everything onto the counter, door bins included, then three piles — keep, move to a bin, throw out. The trash pile is almost entirely expired sauces, single-use seasonings, and the back of a crisper nobody opened since spring. While the shelves are bare, run a non-slip liner down each one: the mat marks the footprint a clear bin has to fit.
Step two: Wipe, Then Map Four Zones
Warm water and baking soda on the glass shelves, dried fully before loading. Then give each shelf one job from the table at the top: bulk, daily, bottles, door-safe. The daily zone takes the turntable, the bottle zone takes the bottle organizer, and eggs and cut produce stay on a real shelf, not the door.
Step three: Build the Main Shelf in Three Bins
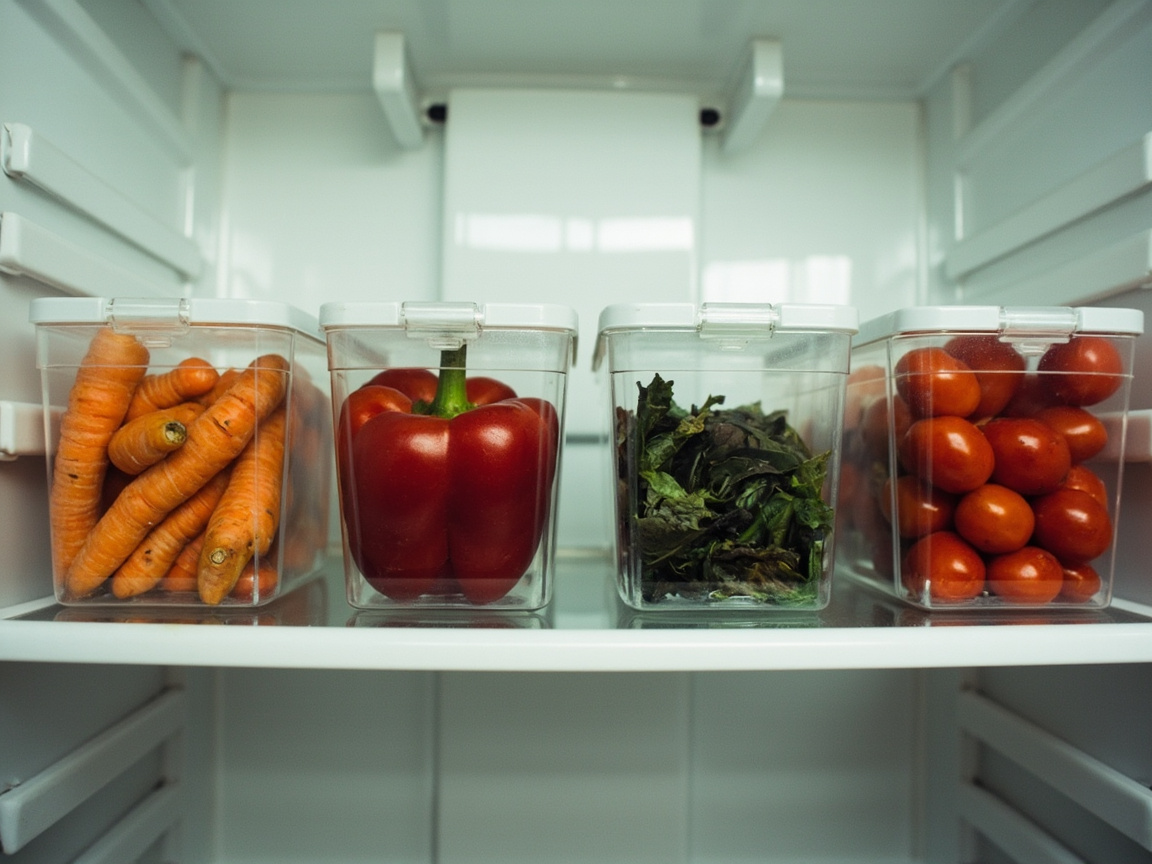
The eight-pack clear bin is the workhorse: clear sides, so you see contents without pulling the bin out, and stackable, so one shelf carries two tiers. Eight matching pieces beat four mismatched leftovers, which don’t stack and end up on the counter.
Step three, continued: Put the Turntable on the Daily Shelf
the turntable puts short stuff up top and tall stuff below, so nothing hides behind a taller neighbour. For single-serve items, the ten-pack lidded trays keeps yogurt cups and snack portions flat and separate.
Step four: Reclaim the Door with Vertical Space
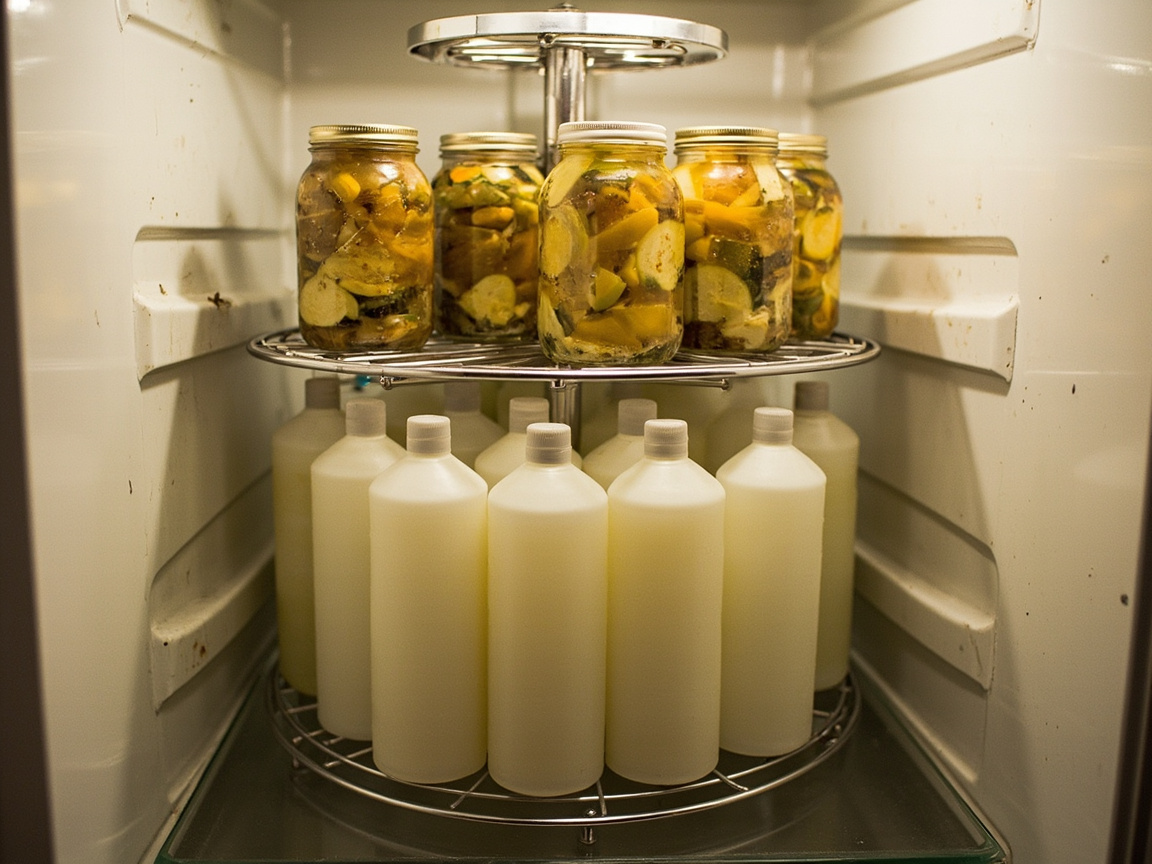
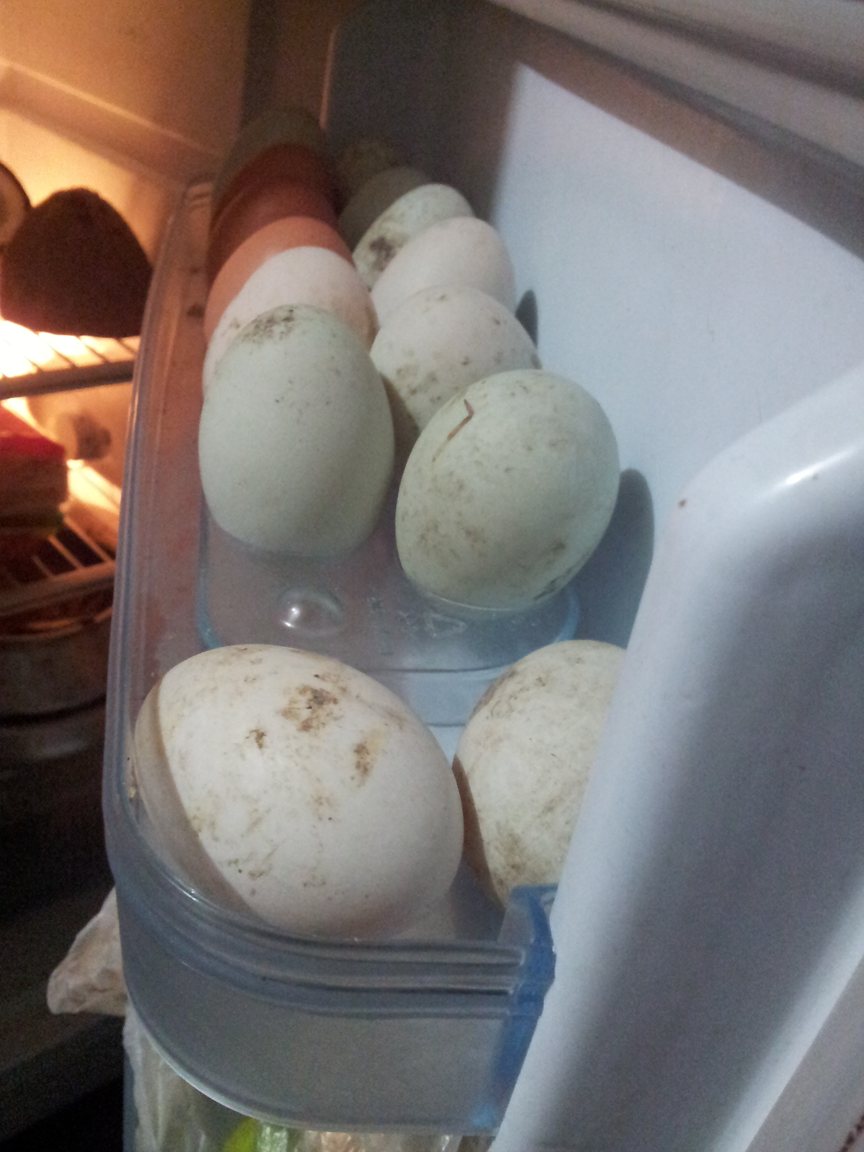
The door is the most-used surface in the kitchen and the least organized, and vertical is the only direction left. The can rack turns one shallow door shelf into two tiers you can count without lifting a can. It is sized for standard twelve-ounce cans rather than tall seltzer, so measure first. The stepped bottle organizer sorts bottles by height so the tall one stands at the back and stops rolling onto the short ones. For eggs, an egg holder gives first-in-first-out access. The price is temperature: the door is the warmest surface in the appliance, so if you have a real egg tray, keep eggs on it. The photo shows only eggs in a door bin; the can rack and stepped bottle organizer above are the written plan, not pictured.
Step five: Fix the Crisper Drawer Before It Freezes
The non-slip liner catches juice from a leaking berry punnet before it reaches the glass shelf, where it freezes and glues produce down — one mat is the difference between a drawer you wipe monthly and one you scrape. Put cut produce in a clear bin rather than loose on the liner, and split fruit from vegetables if you have two drawers. Divider choices are in choosing dividers for the crisper drawer.
Step six: Set the Weekly Five-Minute Reset
Two actions, both on Sunday: scan for anything past date, and move leftovers to the front. The Tritan leftover containers are the workhorse — Tritan rather than polycarbonate, so they survive the dishwasher without clouding, which is what keeps a lid sealing after months of washing. A mismatched lid isn’t a lid, so buy sizes that share them. The full routine is in a maintenance routine that survives a real week.
Layout by Fridge Type
Same three failures, different order of work. Pick your fridge shape.
Single-Door Top-Freezer
Narrow and deep, so depth beats width. Skip the door can rack unless you measure the door shelf — top-freezer doors are shallow and a two-tier rack overhangs. Spend the budget on the eight-pack clear bin and push the overflow into kitchen cabinet organization.
French Door or Bottom-Freezer
Wide and shallow inverts the answer: a turntable beats a bin, because the shelf is too shallow to stack and too wide to reach into. The two-tier turntable earns its price here, and the can rack suits a door wide enough for two tiers. Both doors swing with temperature, so keep the door-safe rule on each.
Mini, Dorm, or Apartment Fridge
Shelf gaps of six to eight inches rule out anything taller than about six, killing most bin sets before price matters. Measure the gap, then buy what still fits: the lidded trays and the bottle organizer. Send dry overflow to pantry organization and awkward corners to under-sink organization.
Constraint Guide by Scenario
Six if-then branches. Each names a product, not a principle.
If you rent and can’t drill into the fridge
Nothing here needs a screw, so skip magnetic racks. The eight-pack clear bin and the turntable both drop in and come out with the deposit. If it’s someone else’s fridge, the non-slip liner matters most — it washes instead of staining.
If kids can reach the fridge
Door bins hold drinks that aren’t sweet; anything sugary moves to a mid shelf at adult eye level. Swap open trays for the ten-pack lidded trays — the lids are the point, not the sorting. Pair it with an egg holder so eggs stay visible.
If you buy in bulk
The bulk zone needs one big bin and a strict rule: refill one slot at a time, never the whole row. The eight-pack clear bin with the date on its front rail handles it, and the lidded trays cover open packages that don’t stack. Date the bin, not the shelf.
If you drink a lot of sparkling water
Standard twelve-ounce cans stack fine in the can rack; tall seltzer cans don’t, so measure the can or the rack overhangs. Move tall cans to the turntable on the middle shelf, where the extra height is free, and keep the bottle organizer on the door for still water and juice.
If the fridge is under four point three cubic feet
Three purchases cover a small fridge: the eight-pack clear bin for the shelf that matters, the bottle organizer for the door, and the Tritan containers for what’s already cooked. Everything else belongs in the pantry — decluttering on a budget covers spreading the rest.
If leftover rotation is your real problem
Skip the organizers and buy containers. The Tritan leftover containers are the only purchase this branch needs: Tritan doesn’t cloud in the dishwasher, and a clouded lid stops sealing within months. Add the non-slip liner only if what you’re rotating is fruit, which leaks.
Common Mistakes
Five patterns show up in almost every fridge that stays messy.
The crisper drawer becomes the sauce cabinet
Packing the produce drawer with condiments works right up until the vegetables wilt in there. Stand sauces in the bottle organizer on the door and canned sauces in the can rack, so the drawer goes back to produce only.
The middle shelf quietly becomes a junk drawer
A shelf with no stated job collects odds and ends within a month. Label it before loading — “cheese and spreads” — and give the turntable the job, with lidded trays for the small items with no other job. How to label anything so it stays legible has the methods that survive a wet fridge.
Delicate produce parked on the warm shelf
Bagged greens on an upper shelf or in the door wilt faster than the same greens on the lowest shelf. Cold sinks, so the bottom is the cold end: line that drawer with a non-slip liner and keep cut fruit in a clear bin on the same shelf, every time.
Restocking without ever removing
A fridge refills only if something leaves, and nothing leaves if you just keep adding. Make removing one item the price of restocking. A dated eight-pack clear bin and a stack of Tritan leftover containers make the one-out-one-in rule visible instead of aspirational.
Buying the organizers before declaring the zones
Cut the cardboard template before you order anything. The eight-pack clear bin and the ten-pack lidded trays most often arrive too tall for a real shelf gap, and rearranging doesn’t fix that. Empty, measure, zone, then buy.
Keep It Organized
Two habits hold it together: a five-minute Sunday scan and a first-in-first-out rule for anything already open. Everything above is a one-time reset; the habits keep it. If a shelf drifts, fix the assignment, not the containers.
The cold zone is one of four in the full kitchen organization guide. The dry side is pantry organization, and the other high-mess zone is under-sink organization.