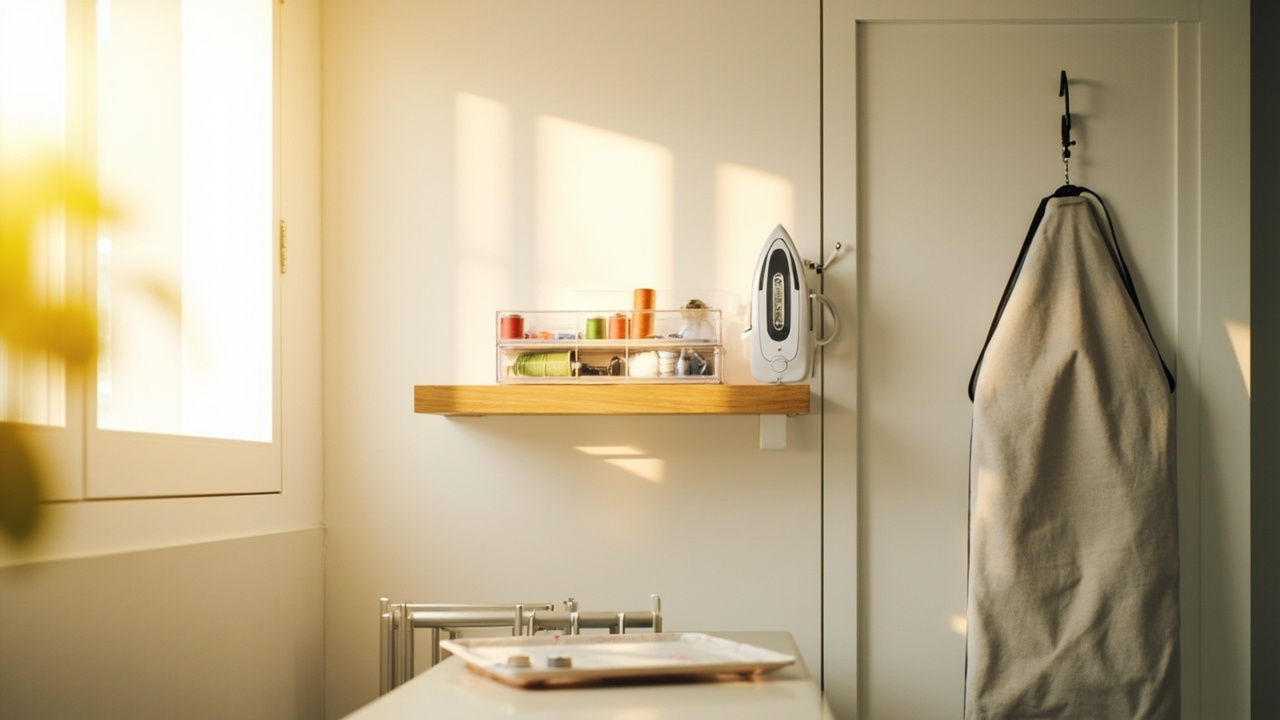
Quick Answer
A laundry iron and repair station turns a 24-48 inch section of laundry-room wall into a 3-zone system: an ironing-board storage hanger, a sewing kit zone in a shelf or cabinet, and a small repair-tools tray for stain pens and loose buttons. Measure your wall first, pick one solution per zone, and you stop the daily shuffle that turns a 10-minute iron into a 15-minute setup. The guide covers over-door vs wall-mount hangers, modular sewing organizers, and the 36-inch dryer-vent safety distance.
Why an Iron and Repair Station Belongs in the Laundry Room
The laundry room already has running water for stain treatment, a flat surface for folding, and a dryer 3 feet from where most ironing happens. Adding an iron-and-repair station collapses three household tasks — ironing, sewing repair, and stain treatment — into one zone. The laundry room hub anchors the broader system, and full laundry room organization shows where the repair station sits in the wider flow.
The 3-Zone System
Most laundry rooms bolt on the ironing board and call it done — a hanger here, a sewing kit in a closet there, and the repair tray buried in a drawer. The repair station is a 3-zone system: a board-storage zone, a sewing kit zone, and a small repair-tools tray. My own laundry wall had three separate zones scattered across two rooms before I consolidated them. A standard T-leg board is 53 inches long; wall-mounted hangers collapse that footprint to a 6-inch vertical strip. The sewing kit zone fits inside an existing cabinet shelf or a 12-18 inch floating shelf.
Why Iron, Sewing, and Repair Pair Together
Pairing the three zones prevents the daily shuffle. A stain on a shirt means reaching for the stain pen, the iron, and possibly the sewing kit — three trips to three places if the zones are scattered. Collapsed into one cabinet shelf, the fix is one reach. The sewing zone belongs with the laundry because the sewing kit serves clothing repair, not craft projects — and clothing repair happens at the laundry site, not the office desk. In my own setup, I keep all three within arm’s reach so a fresh stain or a missing button is one grab, not three.
What You’ll Need
The 8 picks below cover every budget and layout. Pick one hero from each subsystem (board, sewing, repair tray), then layer the supporting picks that fit your room. One board pick + one sewing pick + one tray pick gives every laundry a complete repair station without over-buying. I went through three small laundry layouts with this combination and the same three-zone split scaled up fine each time.
Board Storage — ORLESS Over-Door Hanger ($17.99)
The ORLESS over-door hanger ($17.99) drops onto any door frame in 30 seconds and supports both T-leg and V-leg boards. It’s the right pick for renters and undecided households. The wall-mount upgrade TJ.MOREE $23.49 adds a lower shelf for iron, spray, and starch.
Sewing Hero — SINGER Large Sewing Basket Kit ($29.99)
The SINGER Large Sewing Basket Kit ($29.99) covers thread, needles, scissors, seam ripper, measuring tape, and 100-plus basic notions in a portable case. For households that repair clothes once a month or less, this single kit handles 90% of garment emergencies without buying thread-by-thread.
Sewing Zone Supports — Rack, Stackable, Capacity
- New brothread 93-spool rotating thread rack ($37.98) — wall-mount wood rack that spins 360° for fast color-matching
- BTSKY 3-layer plastic organizer ($20.89) — adjustable dividers handle thread spools, buttons, bobbins, and irregular notions
- Citylife 17QT clear craft organizer ($29.99) — removable top tray for fast-grab notions plus a 17-quart deep bin for fabric scraps
For cabinet-shelf strategy, see how to choose shelf organizers and how to choose storage bins.
Repair Tools Tray — Tide To Go + Exptolii Button Grid
- Tide To Go stain remover pen, 5-pack ($13.99) — multi-pack keeps a pen at the counter, kitchen, and car for the 60-second stain window
- Exptolii 18-grid button organizer ($6.99) — smallest price-per-compartment divider box for buttons, snaps, hooks, and findings
The 5-Step Setup Method
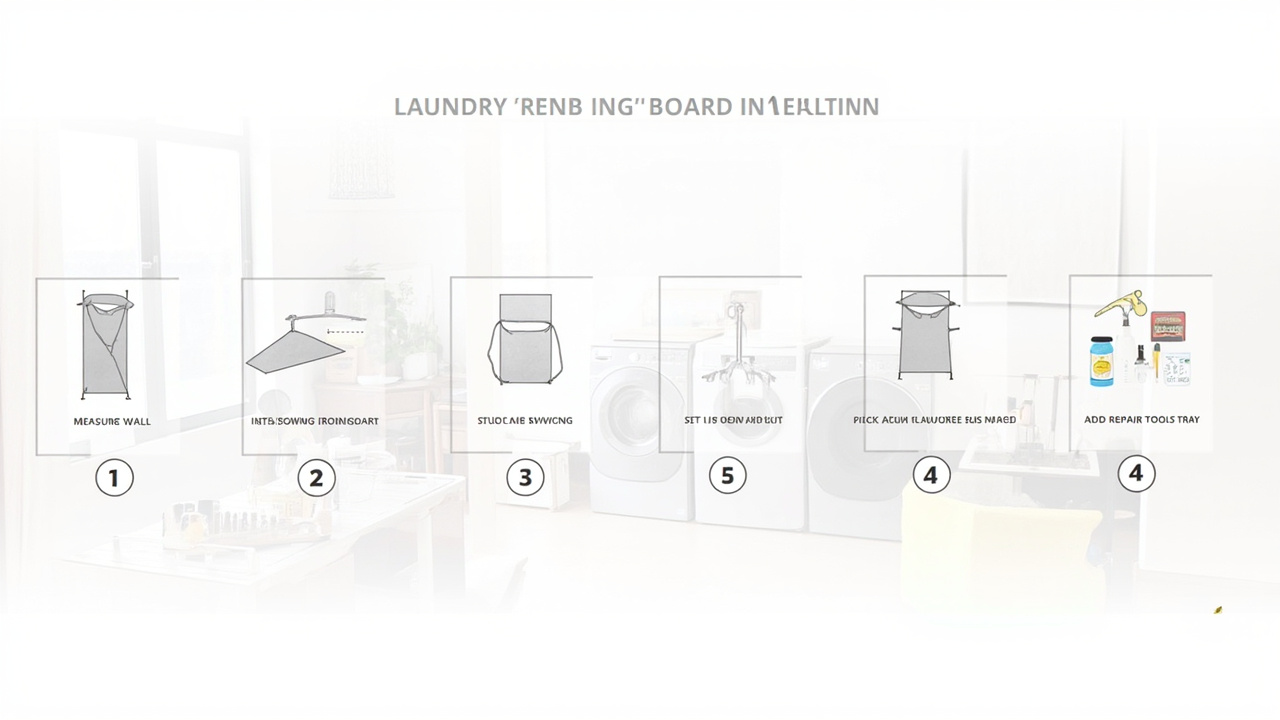
Step 1: Measure Your Wall Zone
Measure the wall section you plan to dedicate to the iron-and-repair station. Standard ironing boards need 6-8 inches of clearance from any corner and 18-24 inches of vertical clearance for hanger swing. Note the door swing — over-door hangers block the door past 90°. The same wall-mounted vertical storage logic from home offices applies to a 24-inch laundry-wall section.
Step 2: Pick Your Ironing Board Storage System
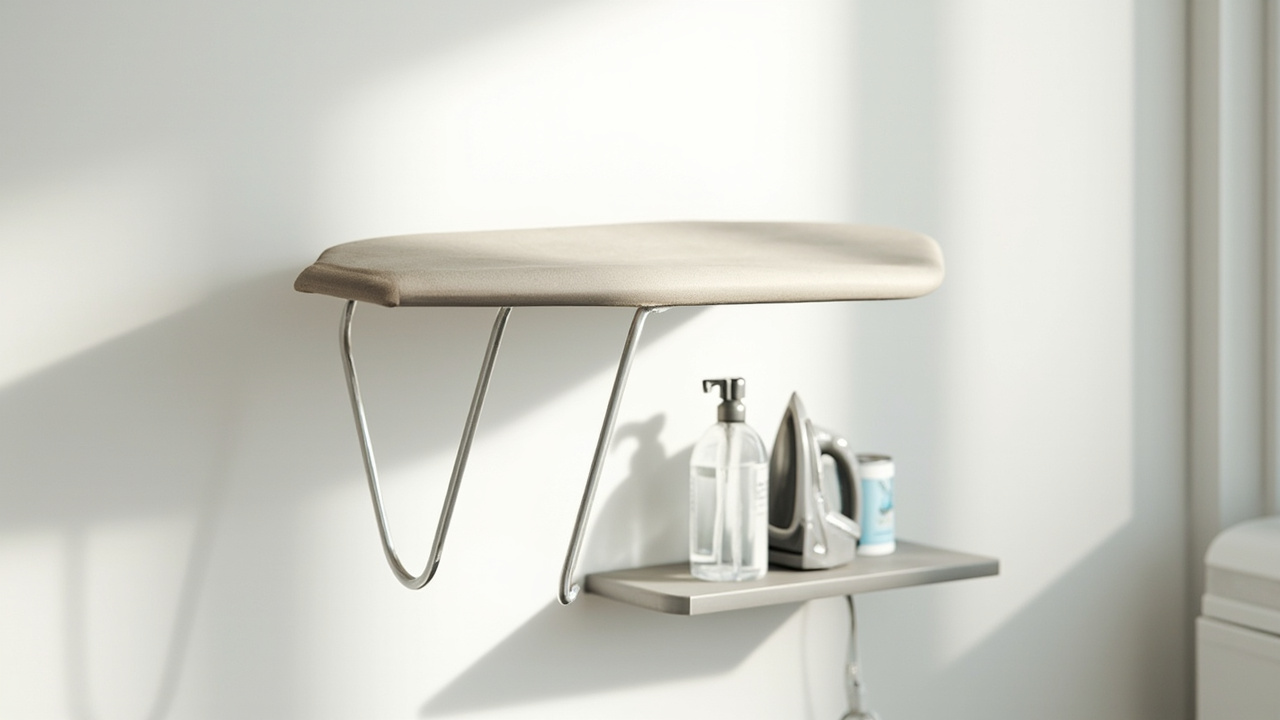
Three options exist, each with trade-offs:
- Over-door hanger (ORLESS, $17.99): zero-install, renter-friendly, but blocks the door past 90°. Best for closets.
- Wall-mount hanger with shelf (TJ.MOREE, $23.49): permanent install with built-in lower shelf for spray, iron, and starch. Holds heavier boards.
- In-wall cabinet ($200+): hides the board completely, but needs a 4-inch cavity. Skip if you have plumbing in the wall.
Step 3: Set Up the Sewing Kit Zone
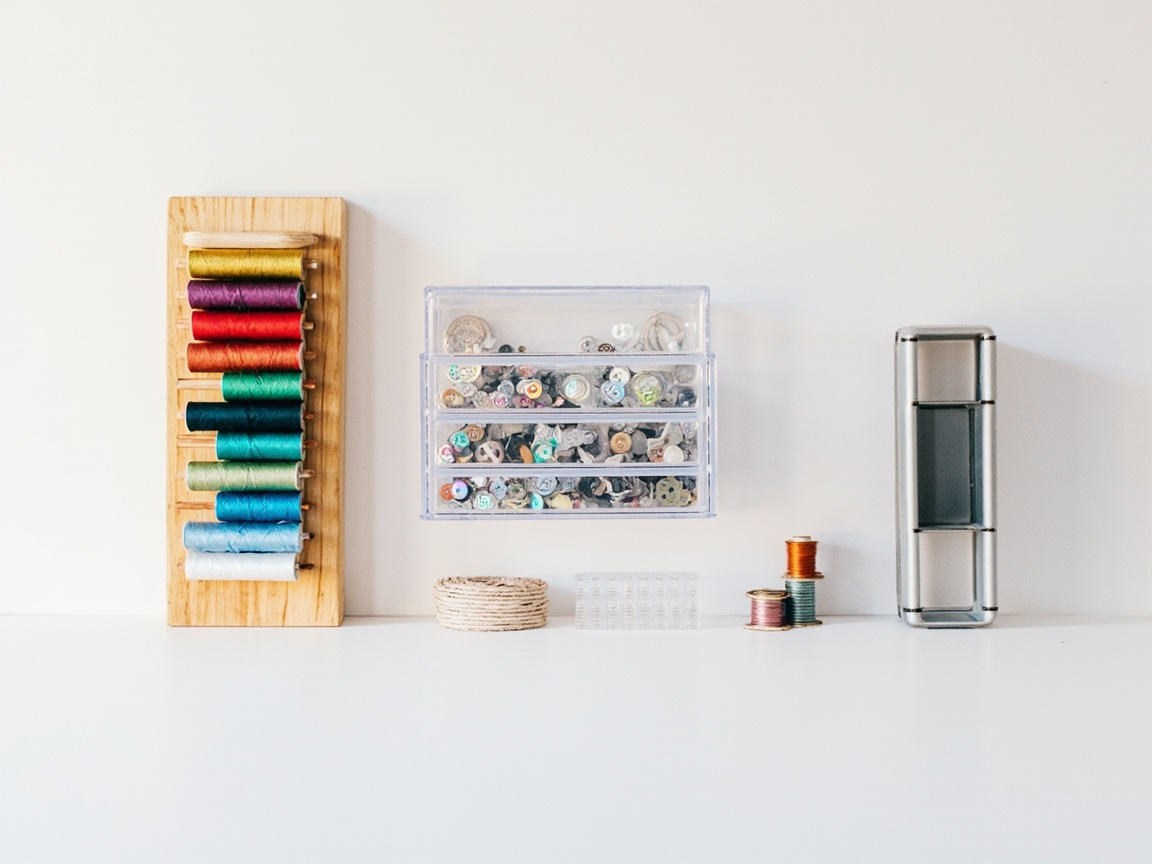
Choose one of three modular approaches based on how often the household sews:
- Vertical thread rack (New brothread, $37.98, 93 spools): rotating wall-mount rack for fast color-picking
- Stackable plastic organizer (BTSKY, $20.89, 3 layers): adjustable dividers for buttons, snaps, bobbins, and irregular notions
- Portable kit case (SINGER Large Sewing Basket Kit, $29.99, 127 pieces): all-in-one starter kit that doubles as transport
Pair the choice with how to choose shelf organizers. For a parallel craft-station layout, see home office desk organization.
Step 4: Pair the Sewing Kit with Laundry Supplies
Keep thread, buttons, and stain treatment in the same cabinet shelf so the station handles both garment repair and stain first aid. A shirt with a missing button often arrives at the laundry with a fresh stain too; treating both in one reach is the difference between a 30-second fix and a 10-minute walk-around. See laundry supplies organization for the broader system.
Step 5: Add the Repair Tools Tray
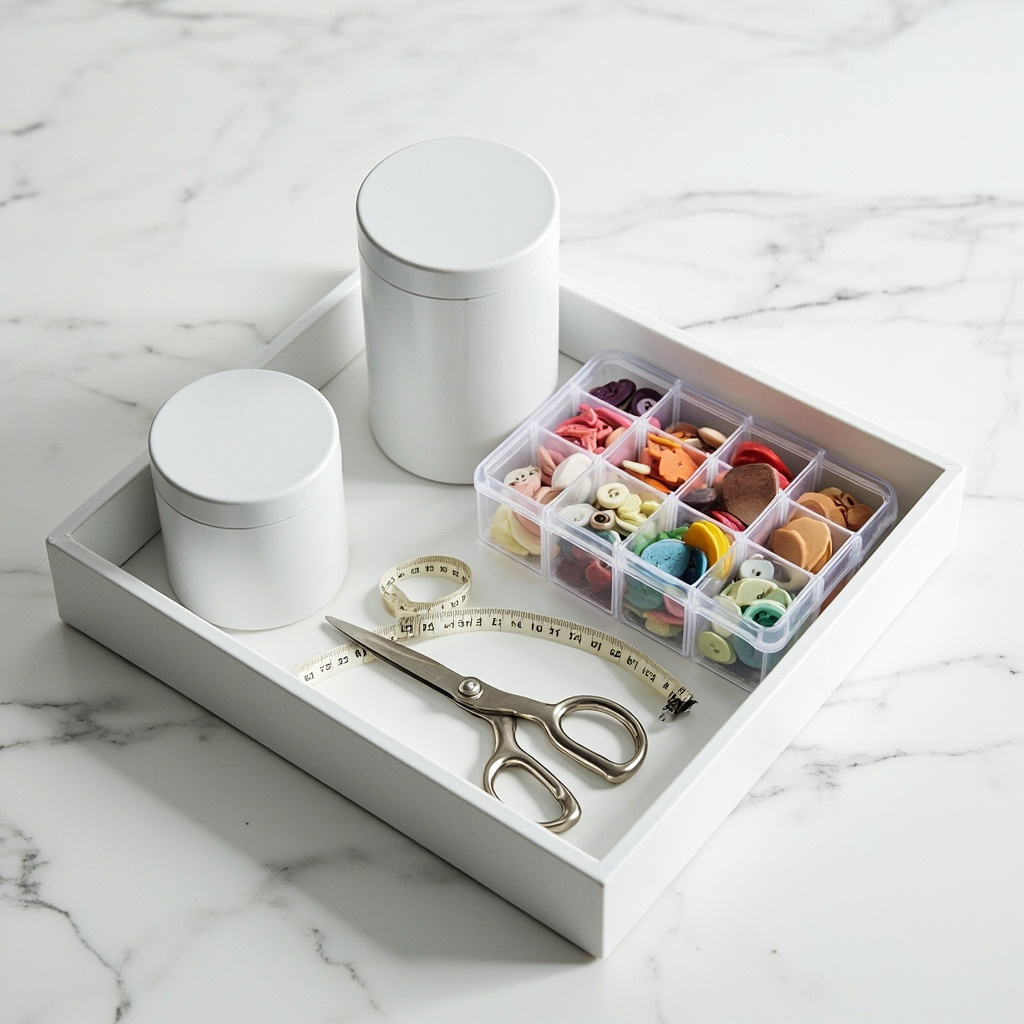
A small tray (12 × 6 inches) handles the third zone: a stain pen (Tide To Go, 5-pack $13.99), a button-grid organizer (Exptolii, $6.99), small fabric scissors, and a measuring tape. Mount the tray on the wall inside a cabinet door or set it on the counter within arm’s reach of the sink. Burying the pen in a drawer is the most common reason fresh stains don’t get treated in time.
Layout by Laundry Room Type
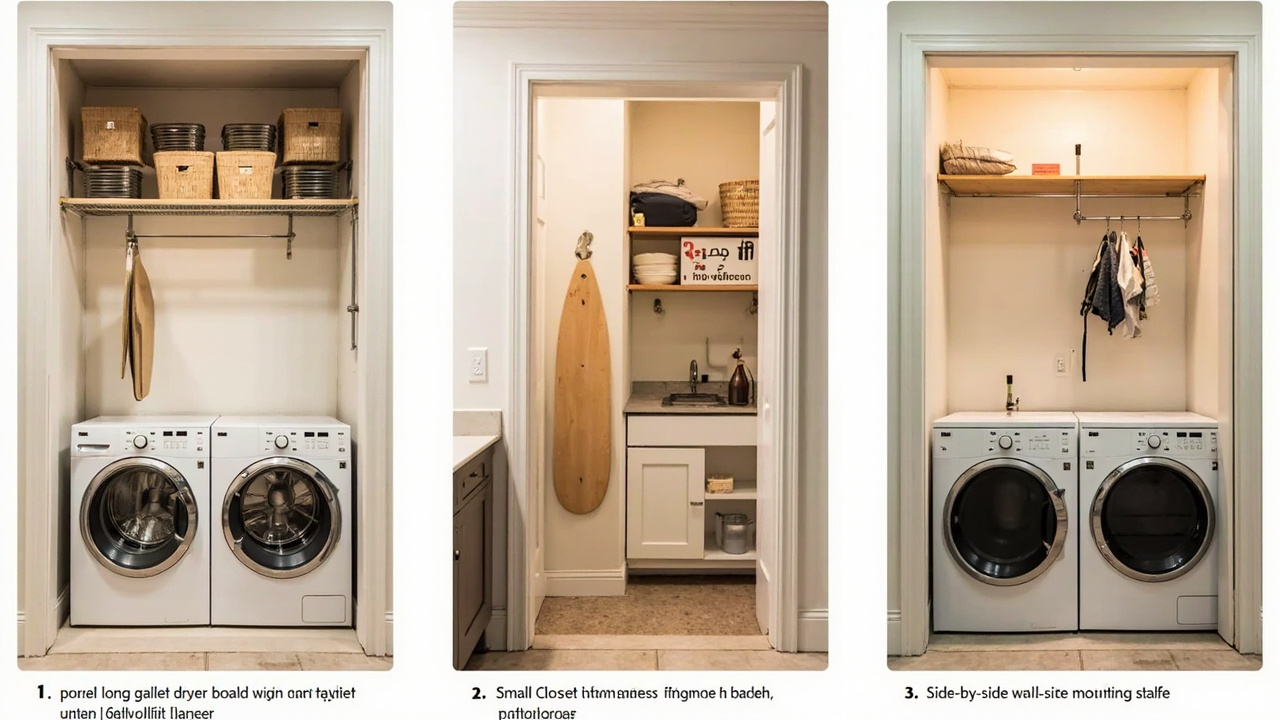
Different laundry-room shapes demand different iron-and-repair-station layouts. Pair the right layout with the right hanger type and cabinet configuration.
Long Galley Laundry Room (8-12 Ft Long × 5-6 Ft Wide)
Galley laundry rooms put the washer-dryer stack on one wall and leave a 24-36 inch back wall free. Mount the ironing-board hanger on the back wall above a folding counter; the sewing kit zone fits in a 2-door cabinet under the folding surface; the repair tools tray sits inside the cabinet door. See laundry room layout for the broader galley setup.
Small Closet or Under-Stairs Nook (≤30 Sq Ft)
A small closet laundry uses the door as the ironing-board hanger (over-door mount, ORLESS $17.99). The sewing kit zone lives in the BTSKY stackable organizer on a single shelf; the repair tray fits in a wall-mounted magnetic strip. See small laundry room organization for closet-specific layout tactics.
Side-by-Side Laundry with Utility Sink
Side-by-side laundry has 24-36 inches of counter above front-load machines. The ironing board lives in a wall-mounted cabinet above the counter (TJ.MOREE $23.49); the sewing kit zone occupies 12-18 inches of the same counter with a wall-mounted thread rack (New brothread $37.98); the repair tray sits near the utility sink. Pair with laundry folding station for counter-layout integration.
Constraint Guide
If the Ironing Station Sits Within 36” of the Dryer Vent
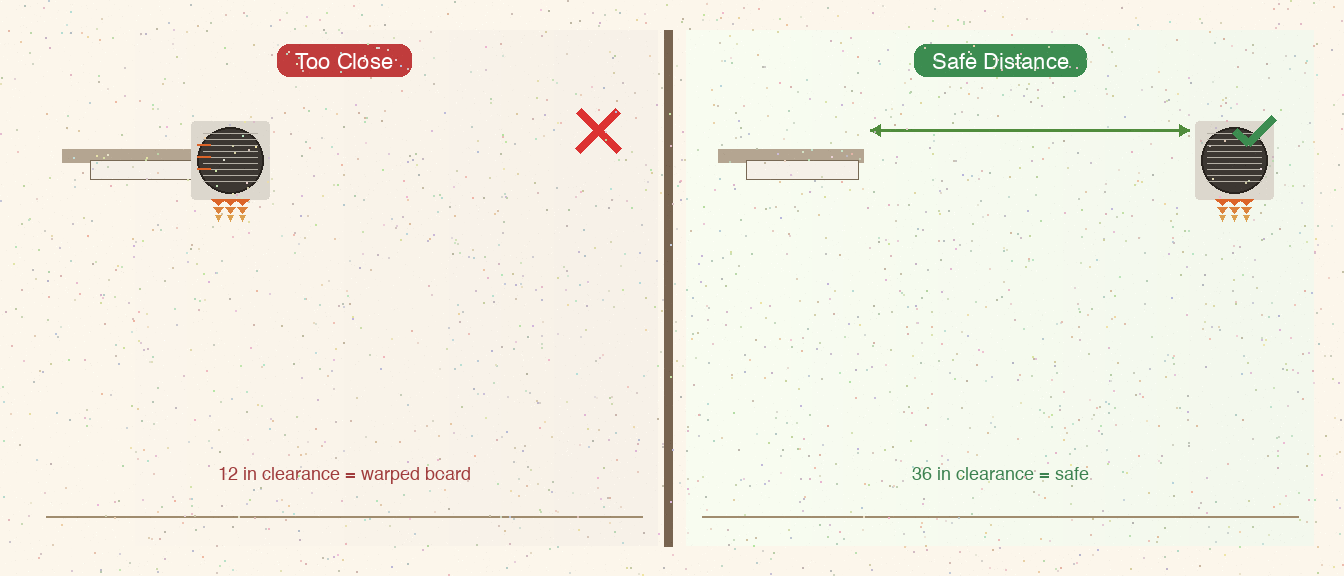
Heat from the dryer vent can scorch an ironing board cover and warp wall-mounted hangers. Move the ironing station at least 36 inches away from the dryer vent outlet, or install a vent-redirect kit. Reference dryer zone safety for full vent-clearance standards. The ORLESS hanger ($17.99) and TJ.MOREE wall-mount ($23.49) both work once you’ve cleared the 36-inch zone.
If Your Wall Is Plaster or Has Wiring Behind It
Wall-mount ironing board hangers need at least 2 wood-stud screws; plaster walls require special anchors. Avoid drilling into walls with electrical wiring (use a stud finder + wire detector). Renters: choose the ORLESS over-door hanger ($17.99) instead of wall-mount. Pair the over-door hanger with a Tide To Go pen mounted on the cabinet door for the repair tray.
If Your Laundry Room Is Less Than 30 Sq Ft
Skip the wall-mounted thread rack (too much vertical space) and use a BTSKY 3-layer stackable organizer ($20.89) inside a cabinet. Mount the ironing board over-the-door (ORLESS $17.99) instead of wall-mount to preserve floor and wall space.
If Your Ironing Board Is Over 53 Inches Long (Commercial or Extra-Wide)
Standard wall-mount hangers cap at 53 inches. For longer boards, choose an in-wall cabinet ($200+) or a freestanding ironing center with built-in storage. The TJ.MOREE wall-mount ($23.49) supports up to standard 53-inch boards; longer boards need a different system. For a longer-board setup, pair a freestanding ironing center with a Singer sewing kit ($29.99) at the same station to consolidate repair work.
If the Laundry Room Has No Cabinet or Shelf Space
Use the ORLESS over-door hanger ($17.99) for the ironing board and a wall-mounted New brothread thread rack ($37.98) for the sewing kit zone. Magnetic strips on the wall hold metal notions (scissors, pins) without drilling.
If Your Household Sews Less Than Once a Month
Skip the dedicated thread rack. Use the portable SINGER Large Sewing Basket Kit ($29.99) as both storage and transport, and store it inside a closet when not in use. A Tide To Go pen ($13.99) in the same cabinet still handles 90% of stain emergencies.
Common Mistakes
- Hanging the Ironing Board Over the Dryer
The dryer’s heat ruins ironing board covers within a year and warps the metal hanger. Keep the ironing board at least 36 inches from the dryer vent outlet. The ORLESS hanger ($17.99) and TJ.MOREE wall-mount ($23.49) both work once you’ve cleared the 36-inch zone.
- Mixing Thread and Needles in the Same Bin
Loose needles tangle with thread and cause waste. Use a divided organizer — the BTSKY 3-layer ($20.89) or Exptolii 18-grid ($6.99) — thread in one section, needles in another.
- Hiding the Stain Pen Inside a Drawer
If the stain pen is buried in a drawer, you won’t use it within the 60-second window when fresh stains are treatable. Keep the Tide To Go pen on the counter. Pair it with an Exptolii button organizer ($6.99) right next to it.
- Buying an Ironing Board Hanger That Doesn’t Fit Your Board Style
T-leg and V-leg ironing boards need different hanger shapes. The ORLESS hanger ($17.99) supports both; cheaper hangers often only fit one. Verify compatibility before buying — and grab a Tide To Go pen ($13.99) for the tray at the same time.
- Treating Iron and Repair as One Storage Decision
Iron and sewing repair are two different activities with different tools. Plan them as 3 zones (board + sewing + repair tray), not as one combined shelf. The SINGER Large Sewing Basket Kit ($29.99) handles the sewing side and an Exptolii button grid ($6.99) handles the repair side.
Maintenance — Monthly Repair-Station Reset
5-Minute Monthly Check
Once a month, follow the zone cleaning method adapted to the repair station: refill the stain pen, restock thread, replace broken needles, wipe down the cover. The repair tray stays useful as long as one person owns the check — we assign it to whoever last broke a button.
Quarterly Rotation
Every 3 months, rotate thread colors to bring current-season colors to the front. Sort button-grid contents by frequency of use. Buttons untouched in 12 months move to a back-up container.
Related Guides
- Laundry Room Organization — the broader sort-store-dry-fold-iron system that the repair station plugs into
- Home Office Wall Vertical Storage — wall-mount ironing board hangers as part of a vertical-first layout
- How to Choose Storage Bins — for the sewing kit zone bins and the 17-quart scrap bin
Key Takeaways
- Plan the iron-and-repair station as 3 zones (board, sewing, repair tray), not as one shelf
- Pick the ironing board hanger by wall type and door style — over-door for renters, wall-mount with shelf for owners
- Use category-not-location for the sewing kit zone — thread, needles, scissors, notions separated into the Singer kit or a stackable organizer
- Keep the stain pen on the counter, not buried in a drawer
- Stay 36 inches from the dryer vent to protect the ironing board cover and hanger